WILDLIFE DRAWING WORKSHOP
STEP 3 : Rendering
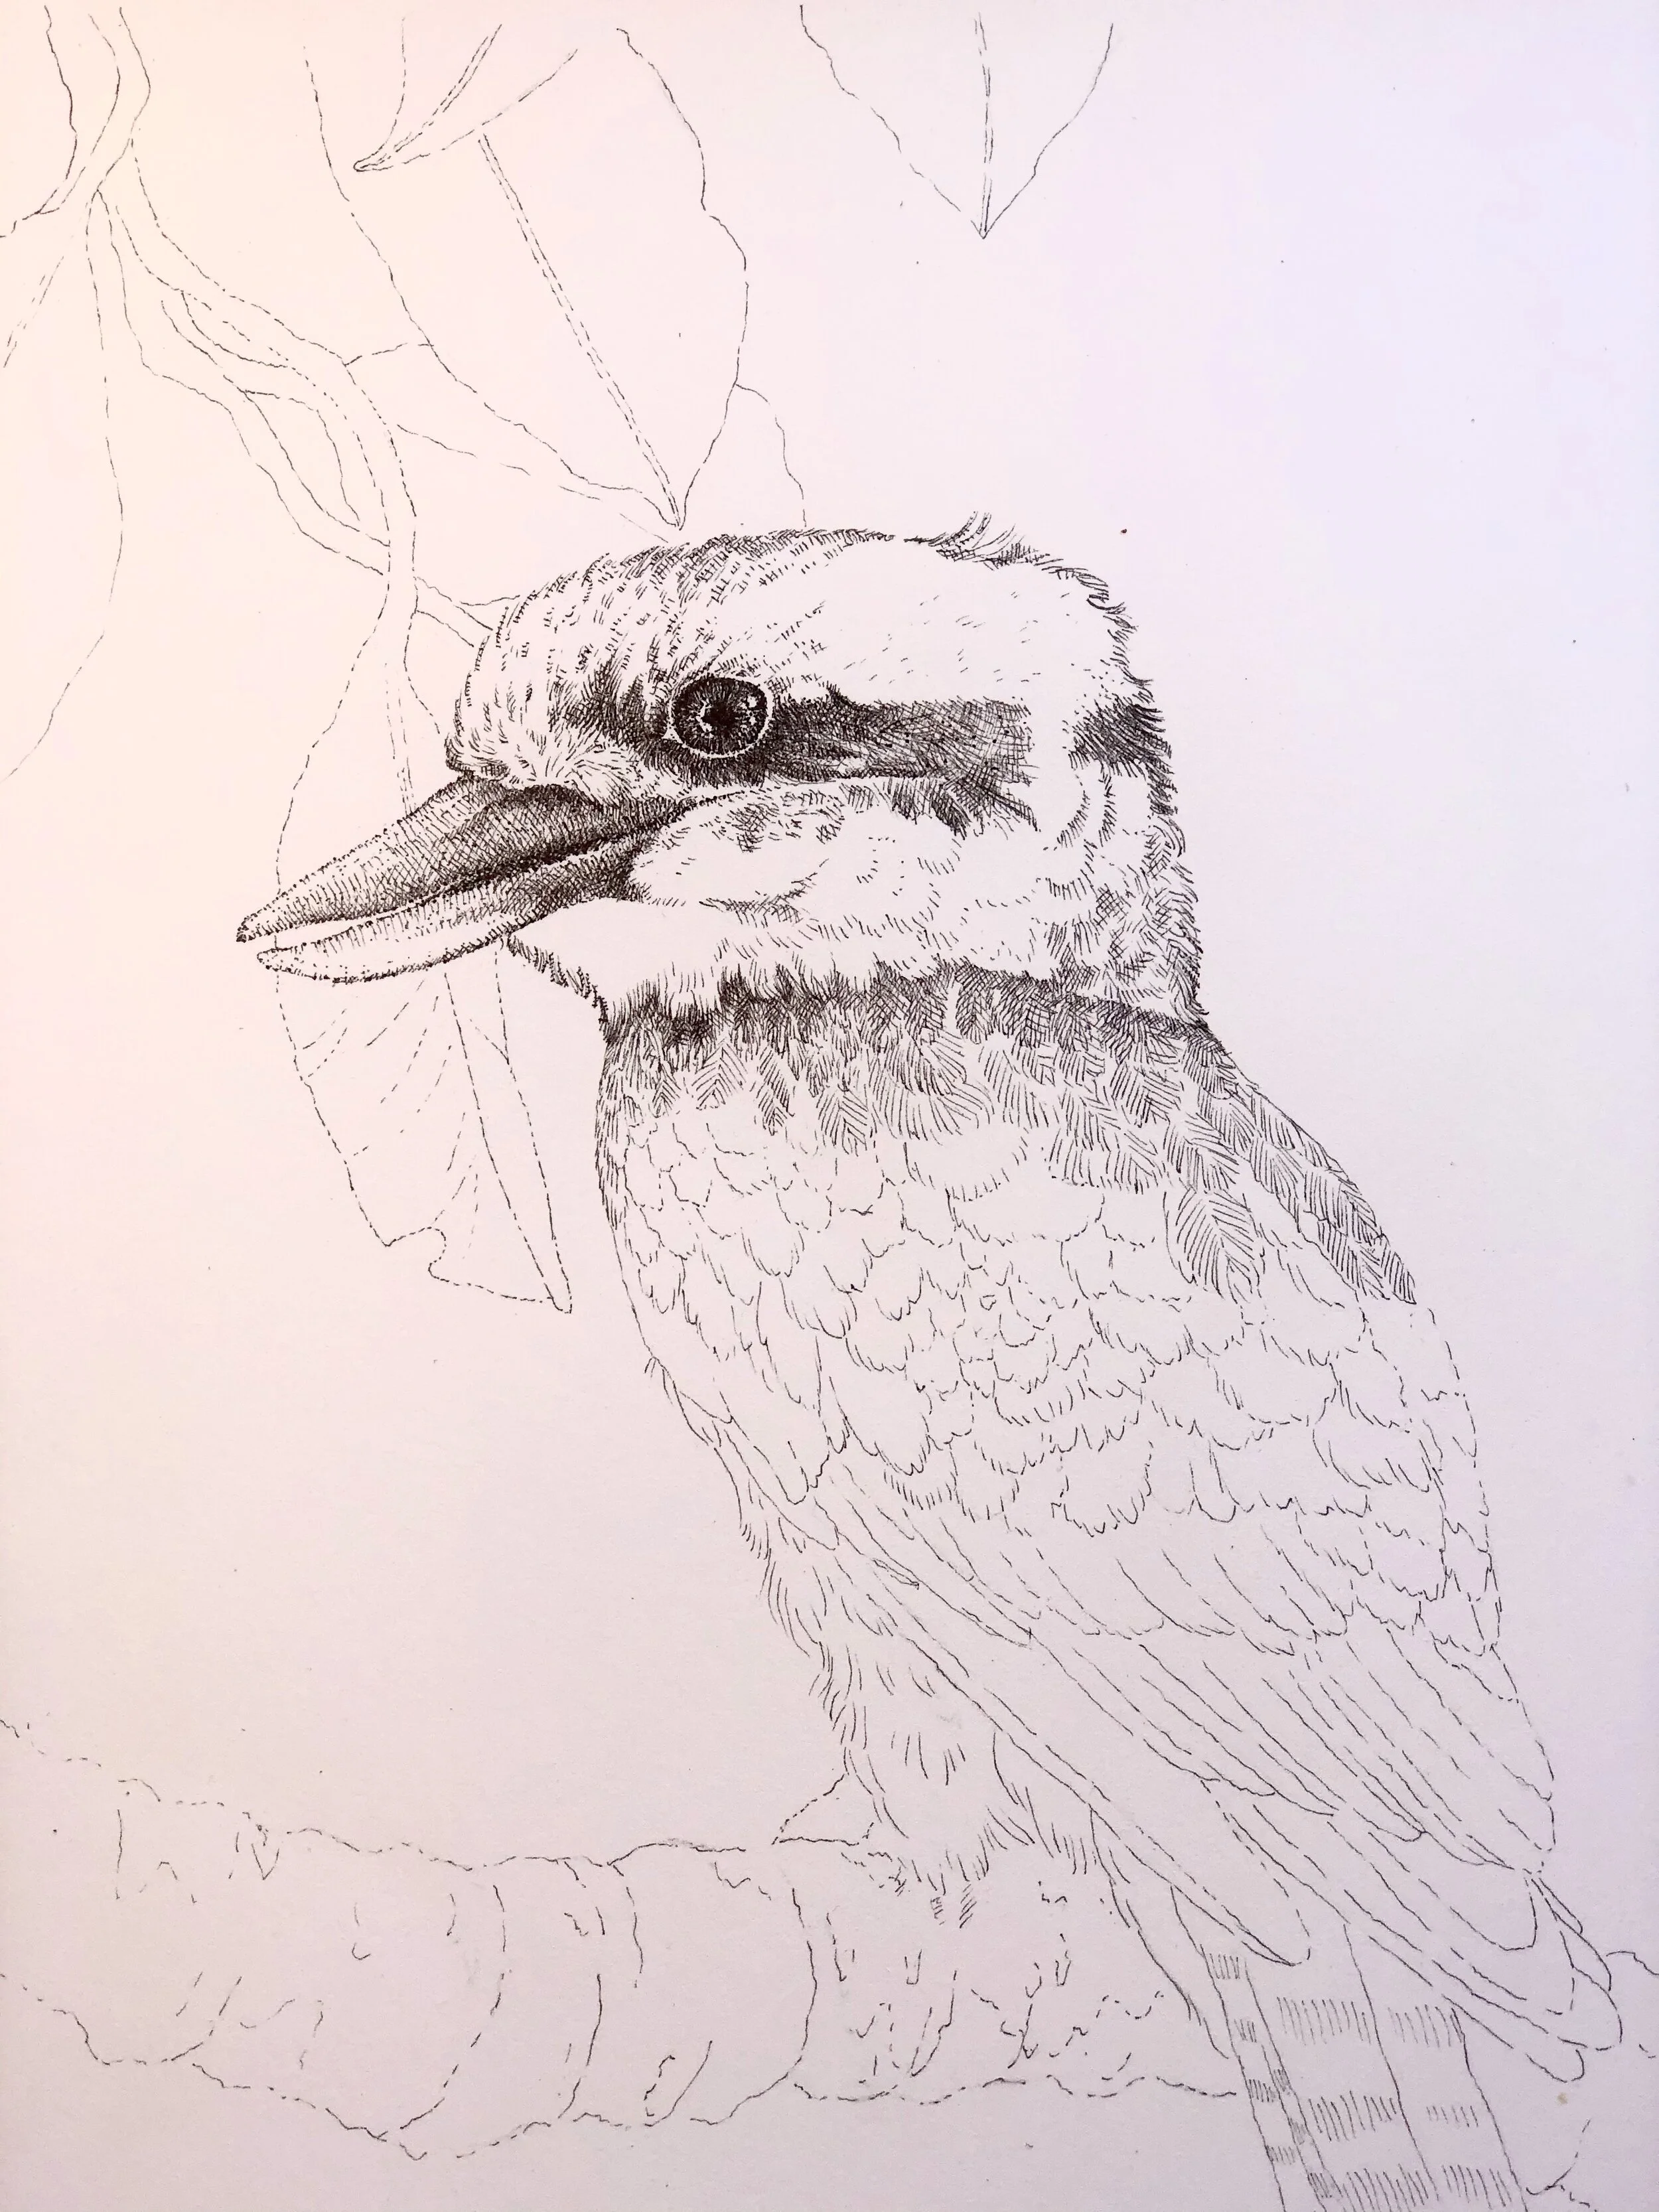
I begin by filling in the eyes. the eyes and face are the most important part of the animal and will act as the main focus of the image. The most accuracy, detail and contrast will be found in the face. I will start by using the cross hatch technique to fill in shaded areas around the eyes. Study the direction and texture of feathers. Be care-full that your cross hatching does not eliminate he noticeable direction of feathers. I move from the eye area to the beak, to the outline of the birds head and then background leafs. Background leafs should be kept light and minimal because they are part of the background and the focus of this illustration is the kookaburra. I try to move around the image and not spend too long on one spot as I may over work it. Sometimes it is good to come back to an area of your drawing with fresh eyes.
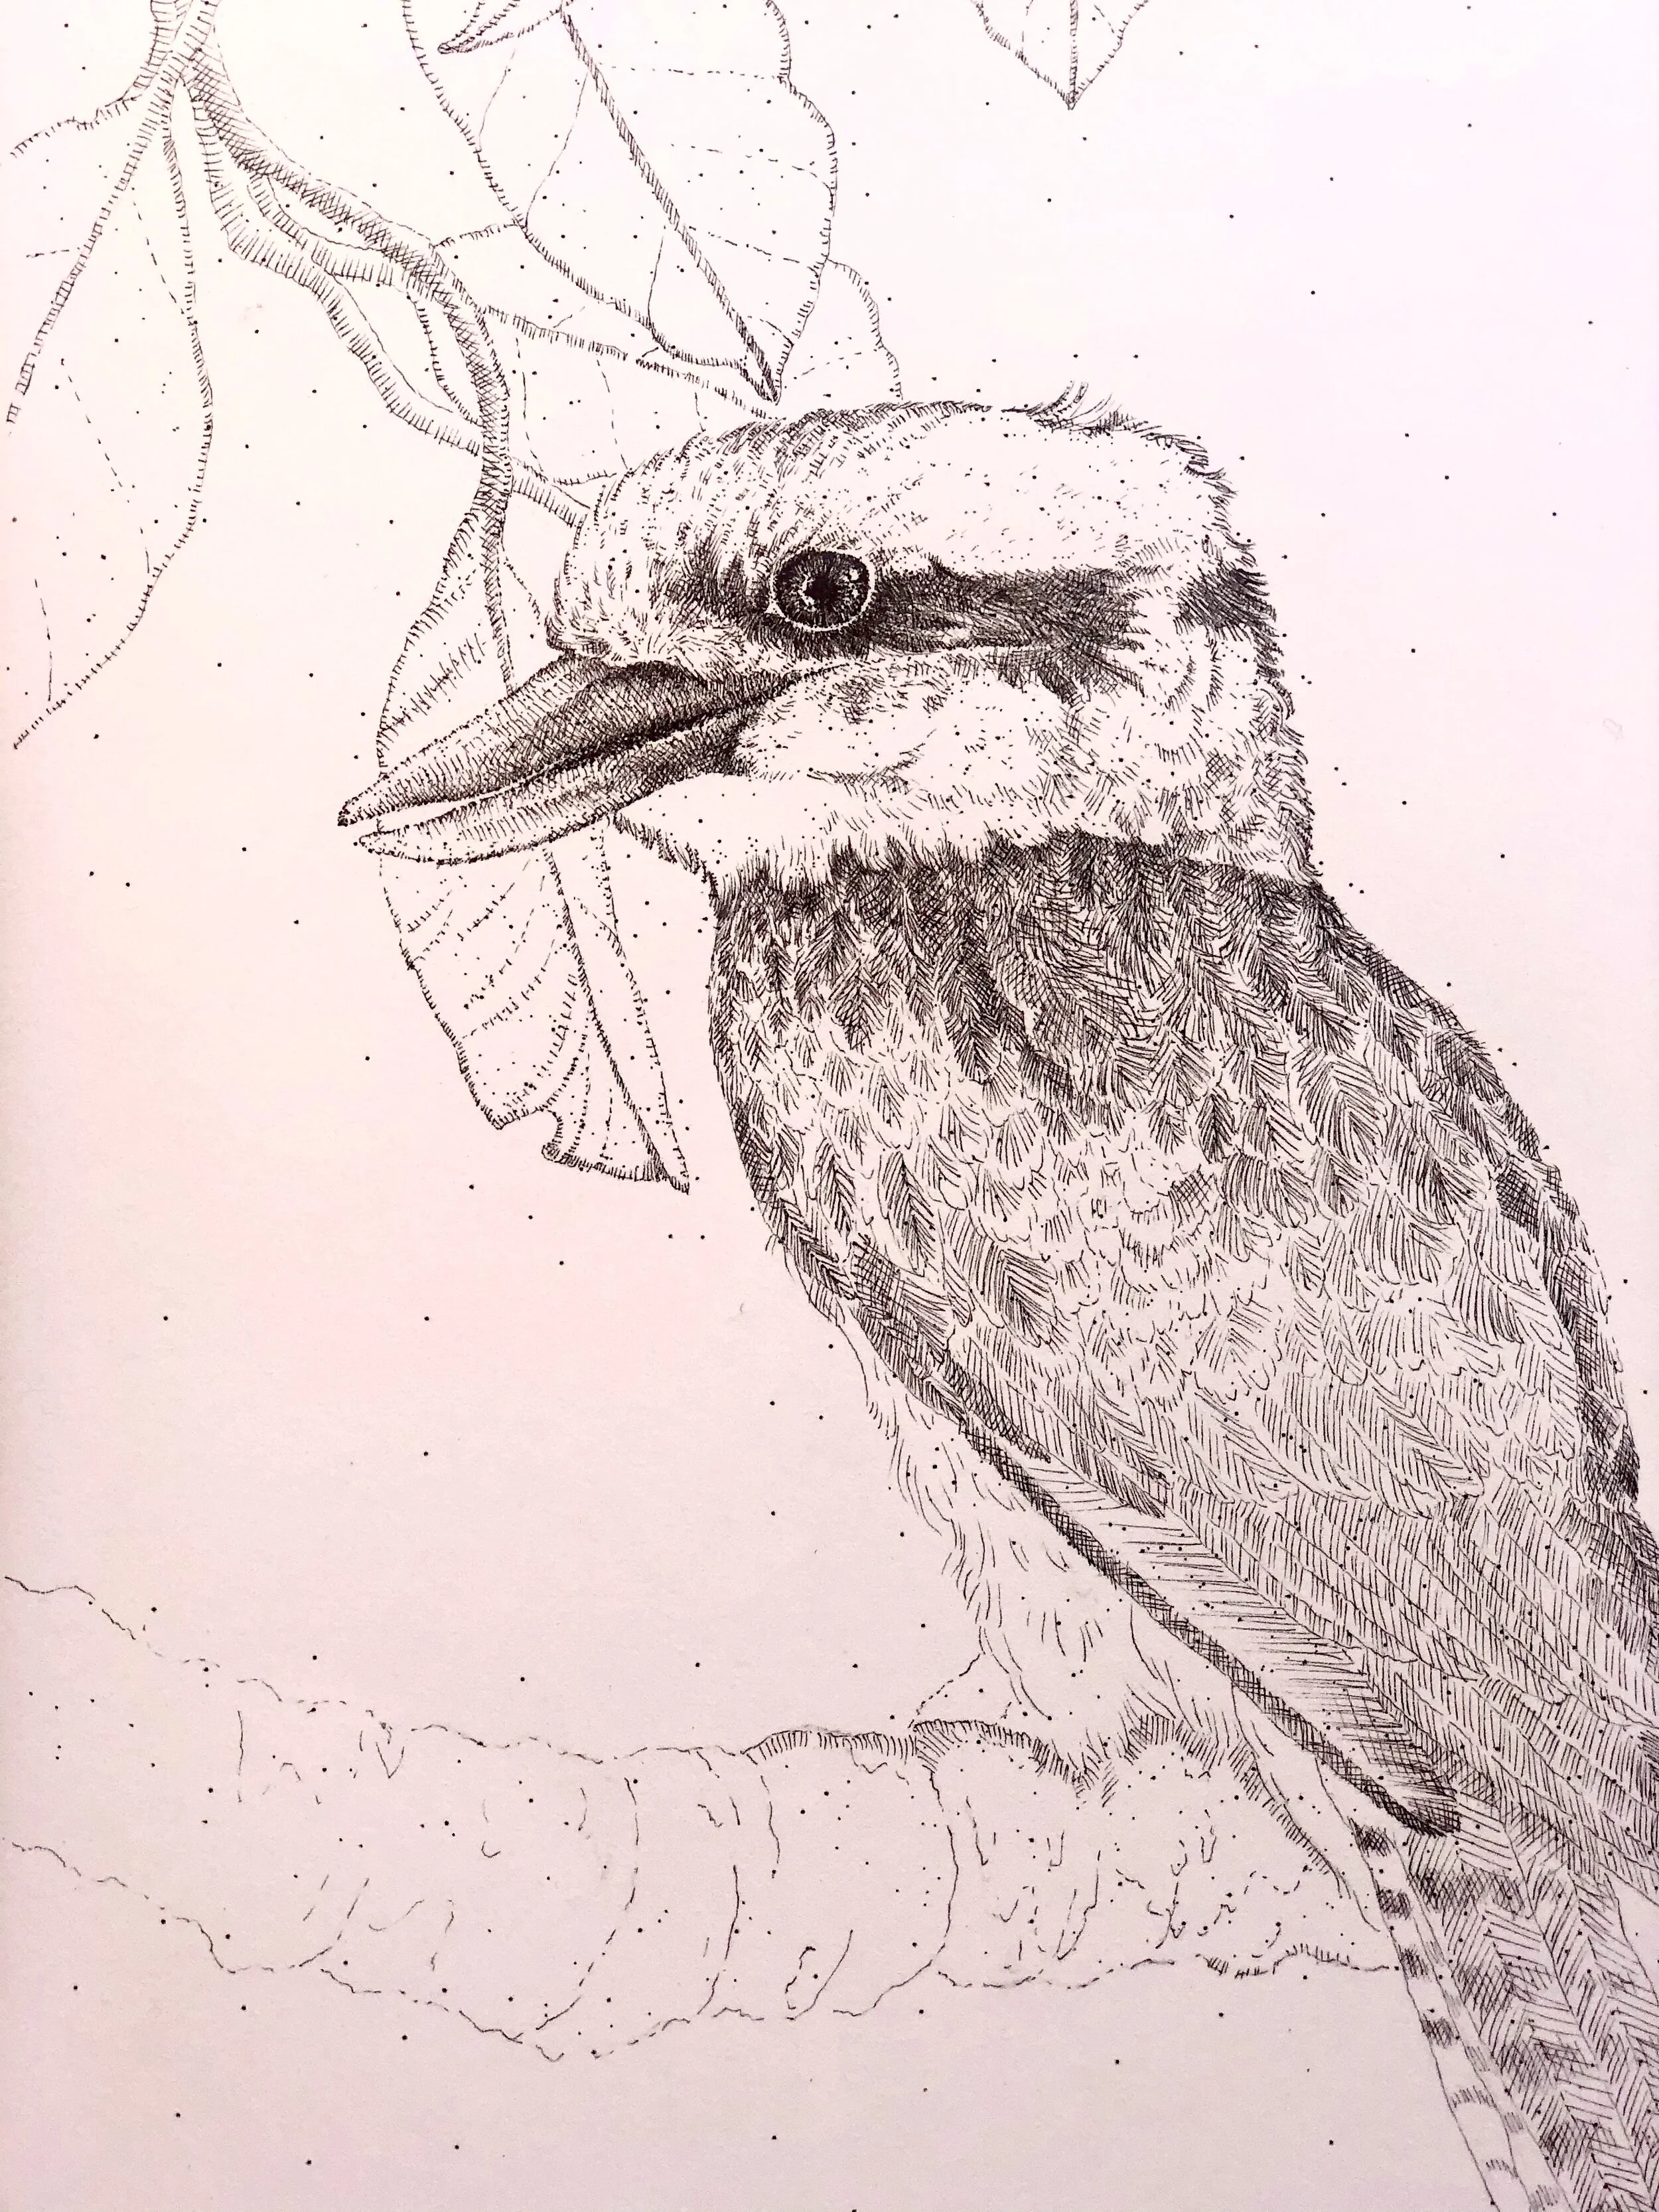
I begin to work on the next toned area of the bird, it’s wings/back. I draw thin lines over the feathers marking the direction of hair lines. Next I mark the striped patterns in the tail. I will move around the image starting to layer up tones on the body. The next video continues the layering method, building up dark areas and adjusting sizes of fine-liner. Stippling is added for effect and texture. I use cross hatching to render tones/shadows and stippling to give texture and effect.
Cross-hatch: To shade an area with intersecting sets of parallel lines. Stippling: To mark a surface with numerous small dots or specks. I start with an 005 fine-liner and layer over with an 01 & 03 fine-liner for darker areas and edges.
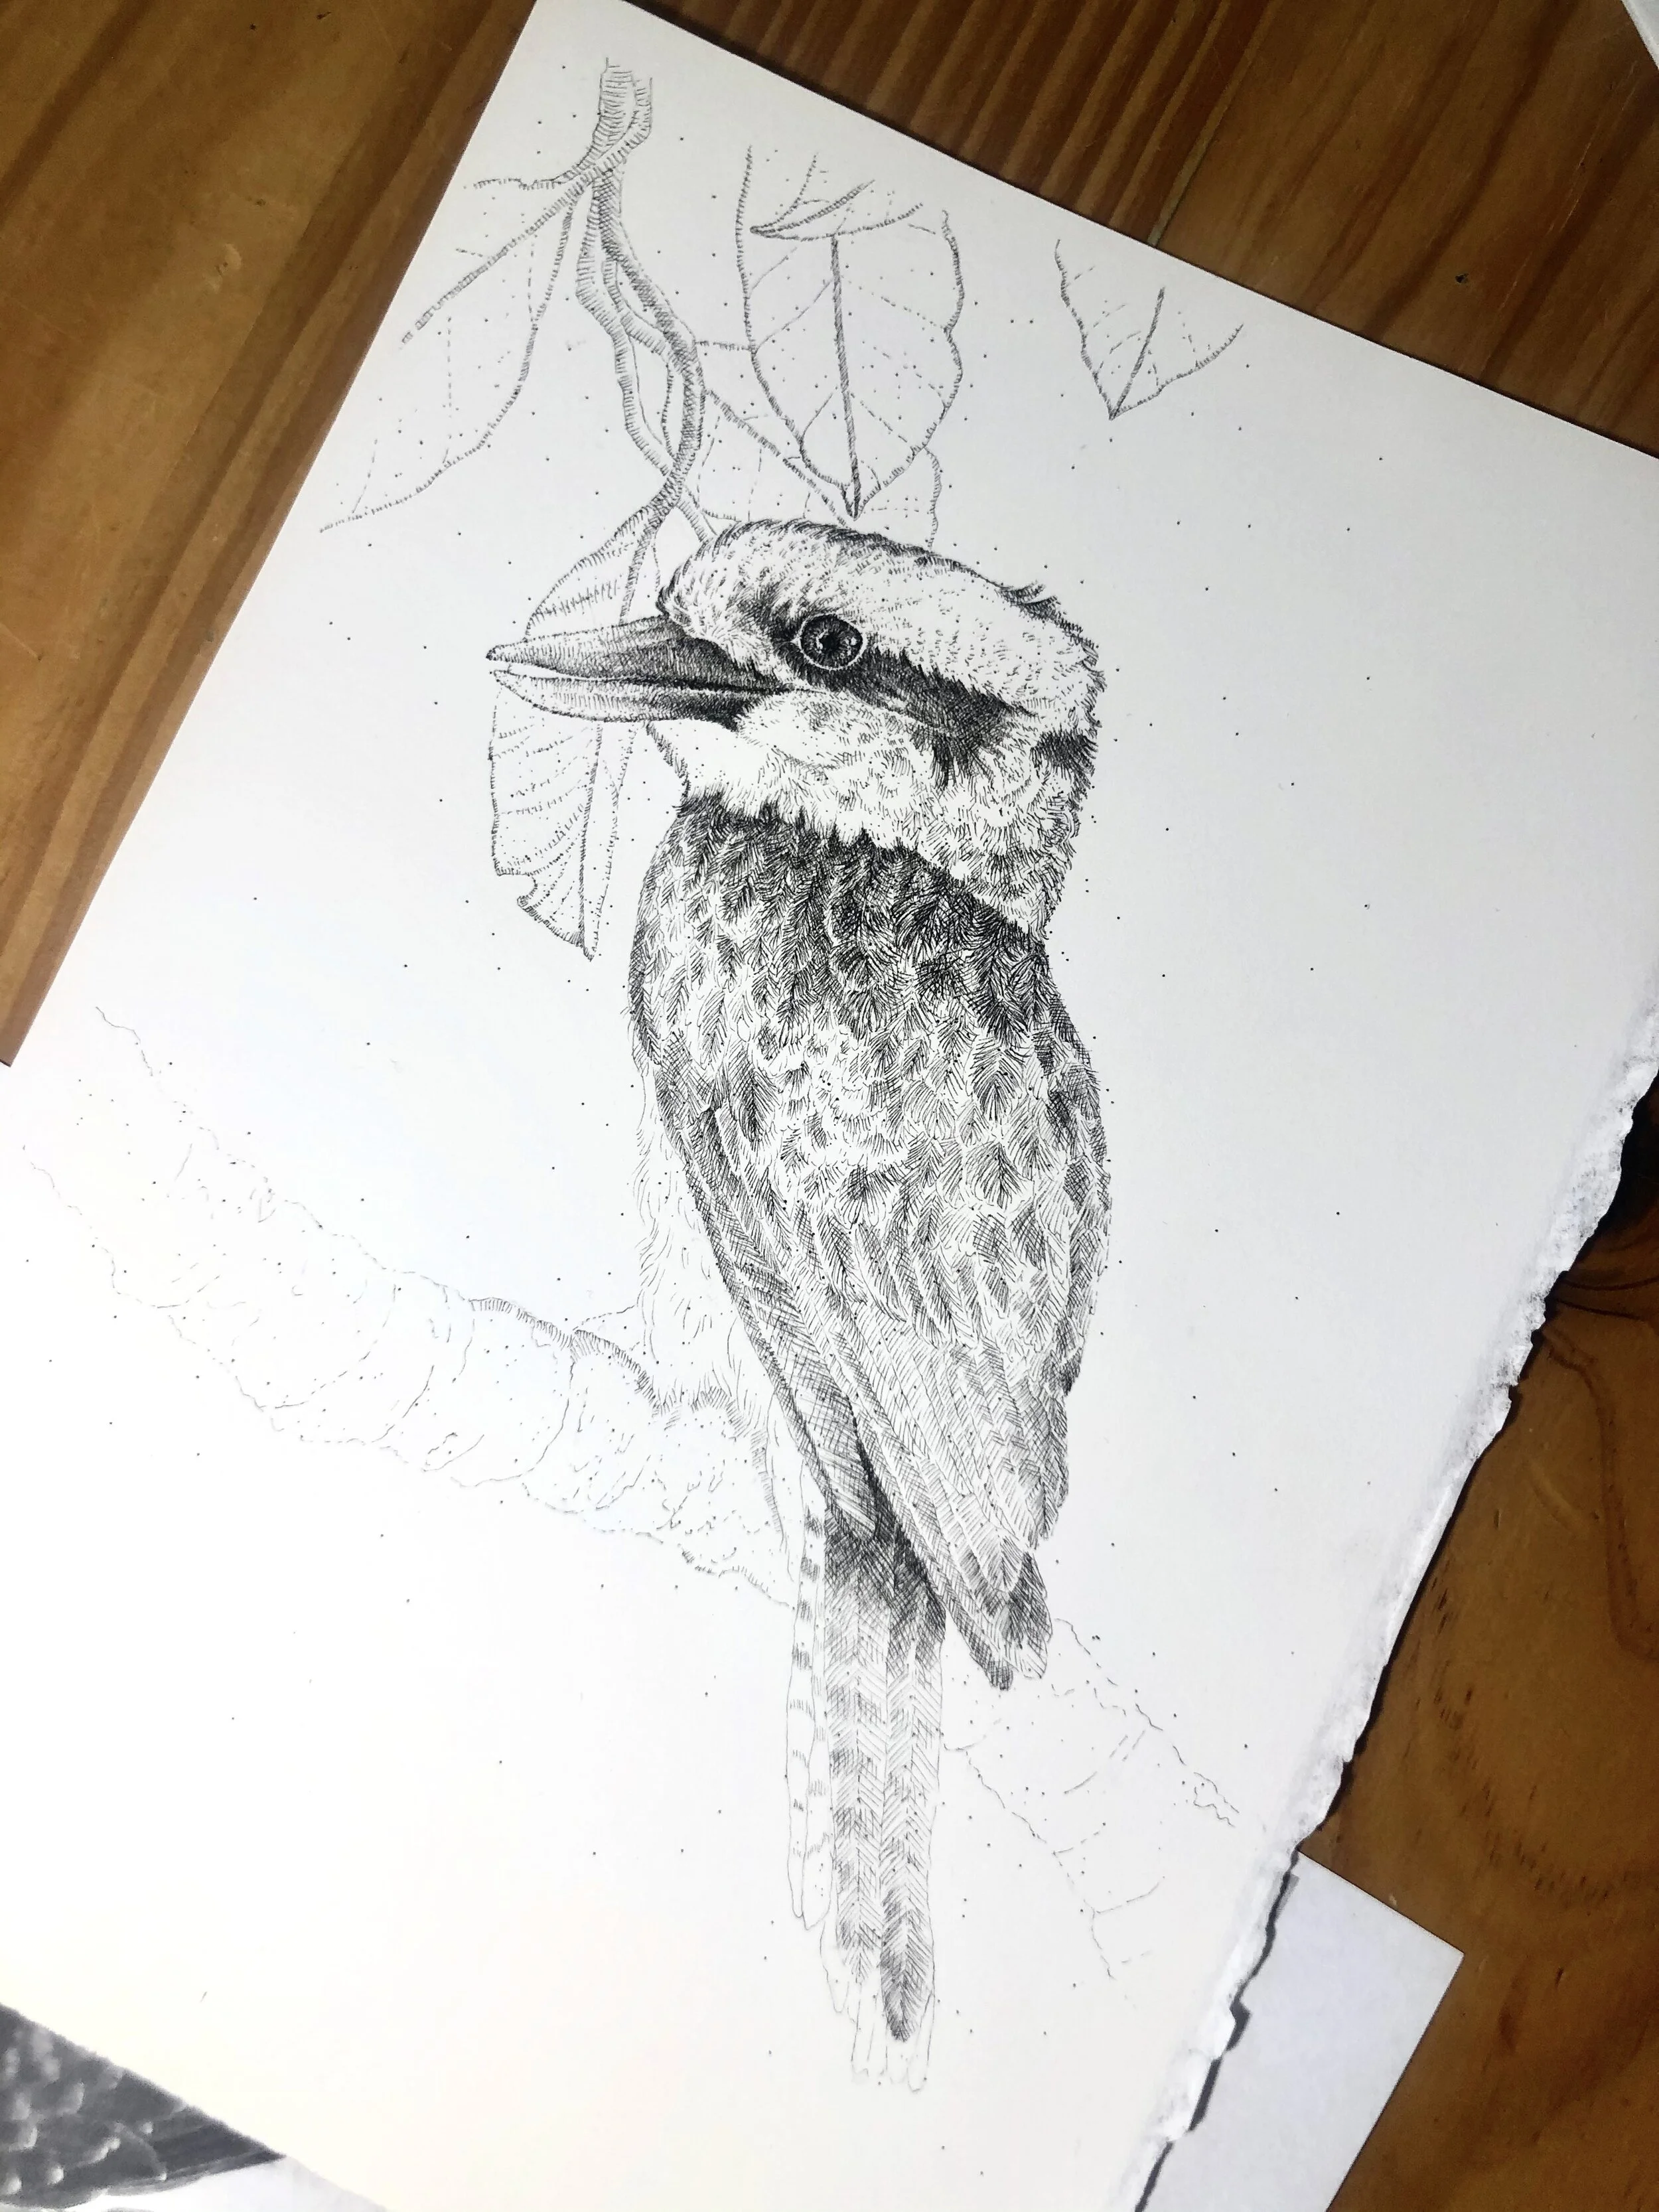
Once rendering is completed in 005 size I will move up to rendering in 01 size and then 03. Once image is done I like to finish with some specks of stippling. This just a personal effect I like to add to my drawings to give a whimsical effect. Don’t forget to sign your artwork! Think about placement. Layout your name in a spot that compliments your drawing layout.