WILDLIFE DRAWING WORKSHOP
STEP 1 : Tracing (the messy but fun method)
There are many different tracing methods. This is a very easy and effective method and perfect if you don’t own a light-box. Tracing is a time efficient and accurate way to present the animal’s true size, form, expression, ect. Any stylistic aesthetic elements of your drawing style can be added when drawing the final piece.
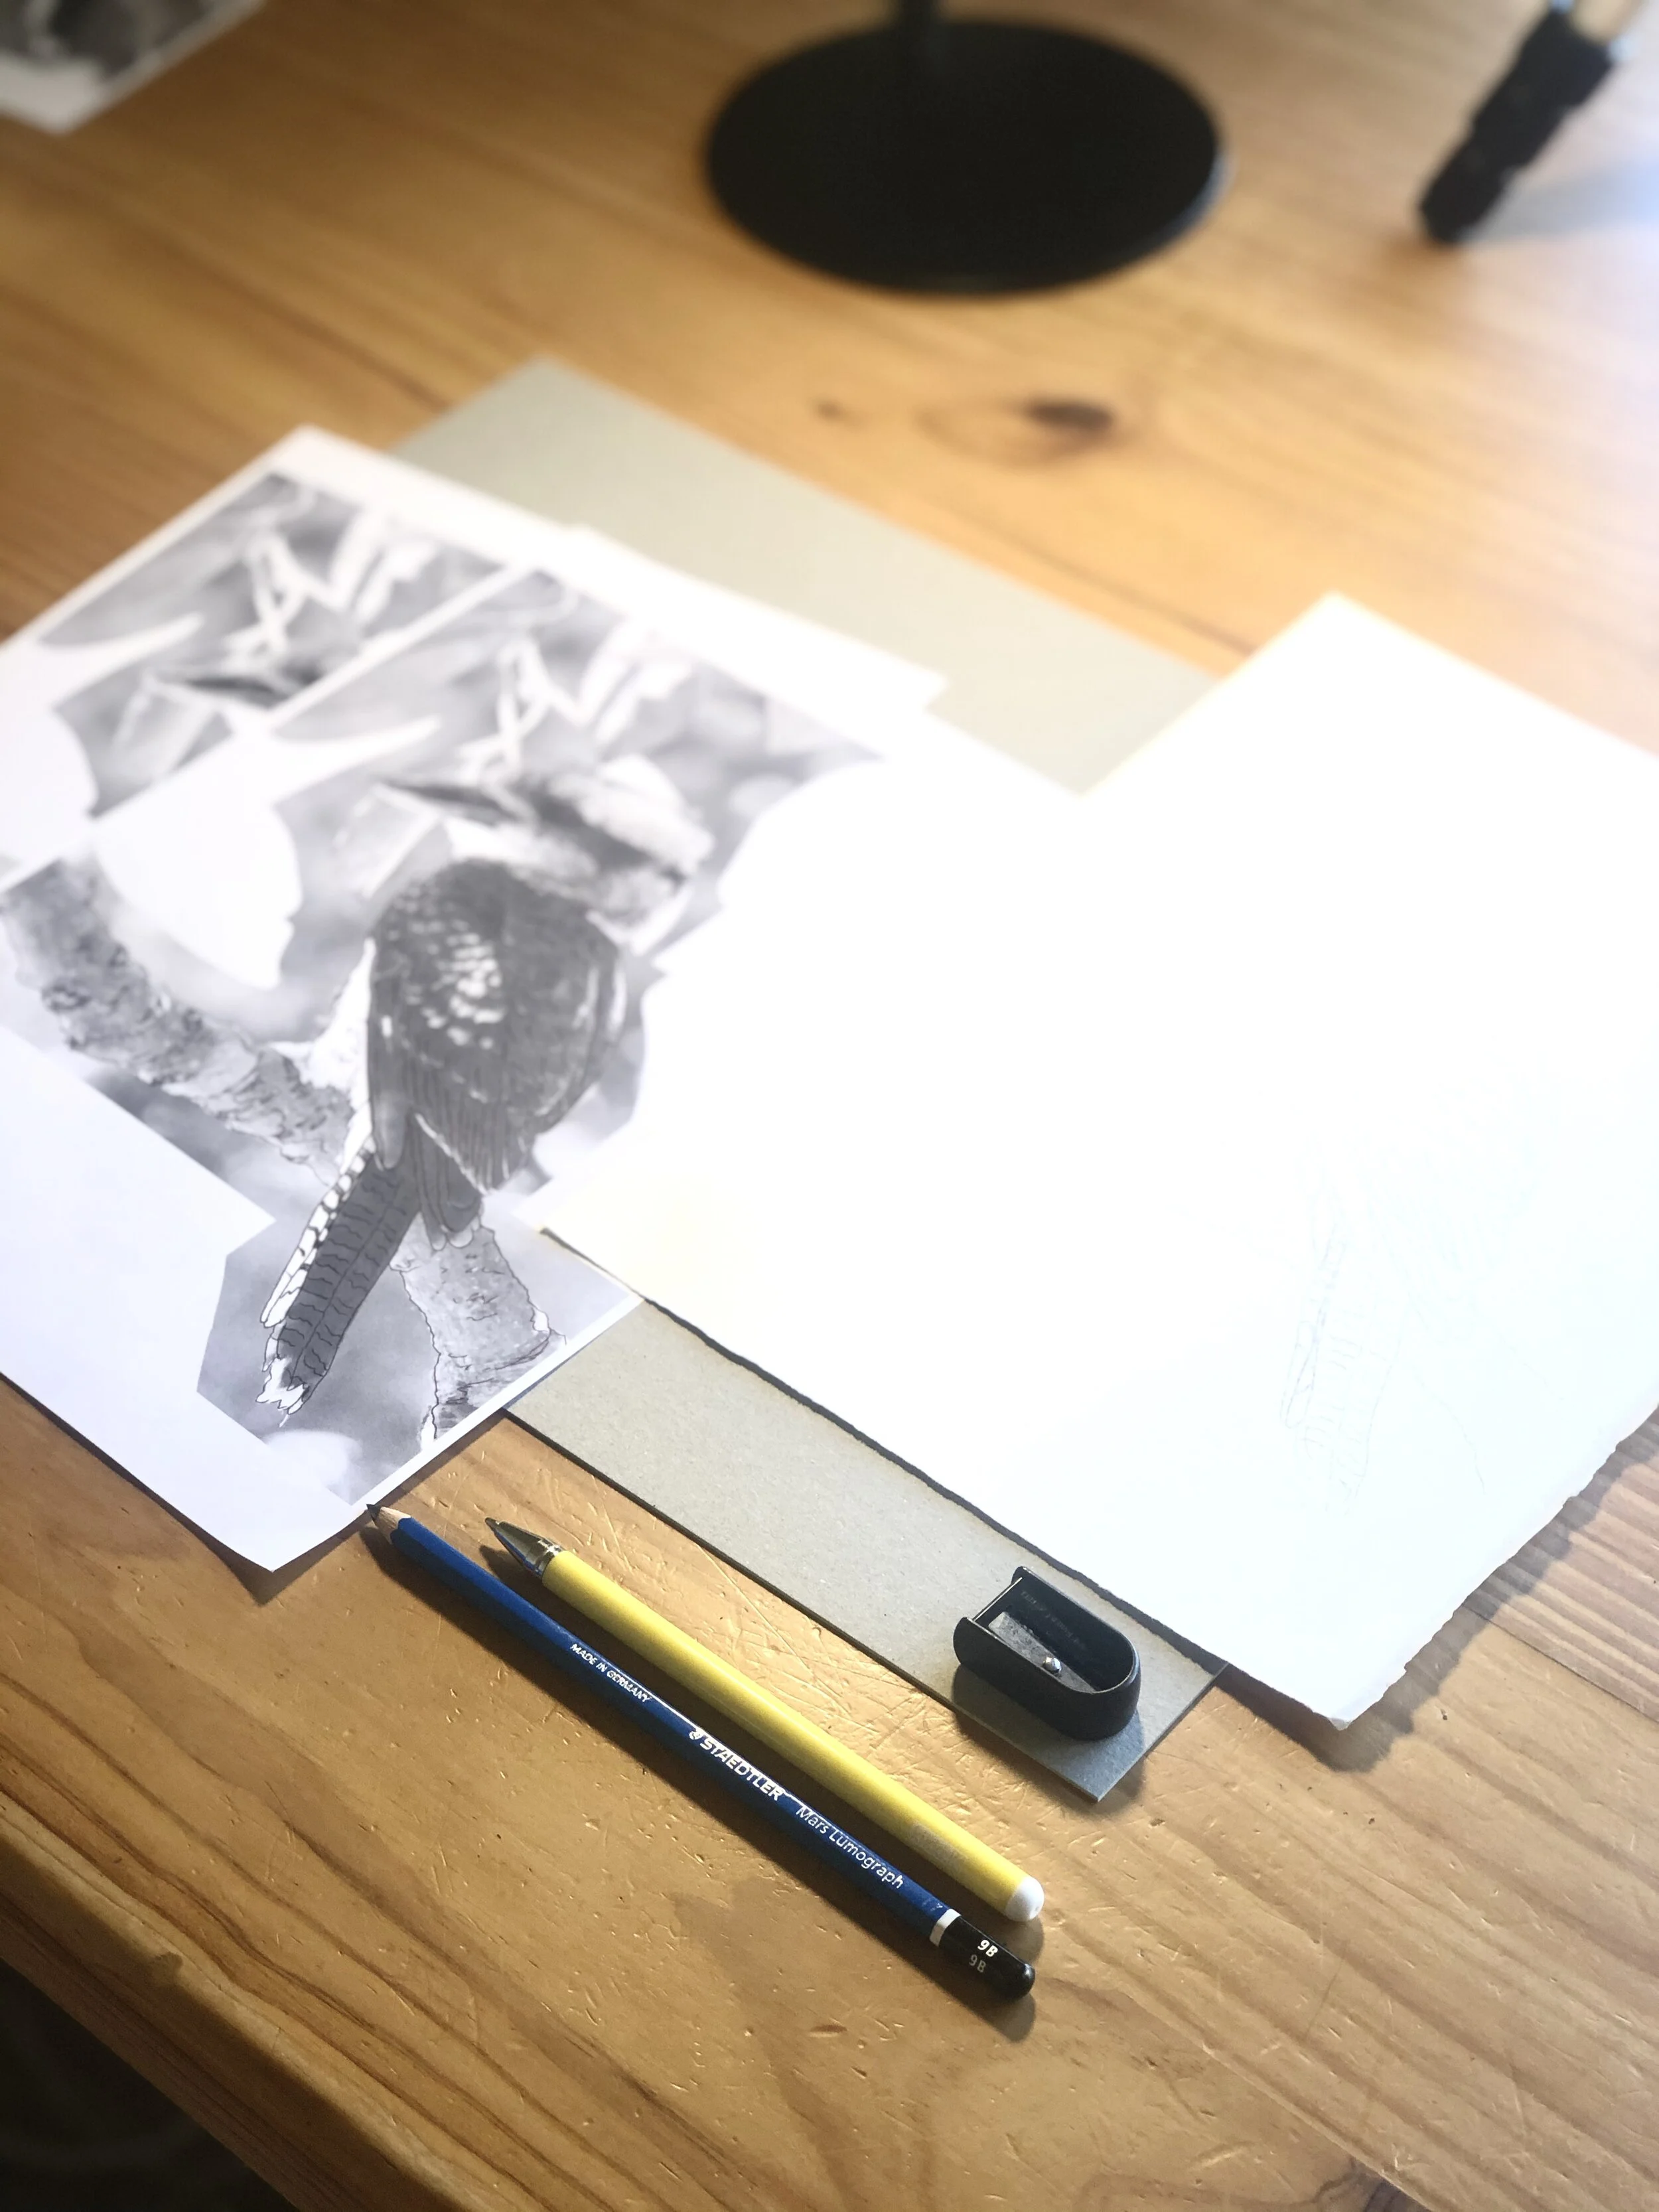
Materials: You will need a graphite pencil (preferably 8B of above in size, but it can work with the regular HB), a pen, sharper, your drawing paper, 2 copies of your photo reference and a smooth surface or backing board.
Step 1: Place your backing board on the table. Take one copy of your photo reference and place the picture side on-top facing the table.
Step 2: With your thick graphite pencil start filling the blank paper with graphite. Make sure you fill all the areas that the animal is printed on, on the reverse side. You may be able to see through the paper slightly for photo copy paper or you can turn the page up as you draw to check.
Step 3: Sharpen your pencil when needed. This will not work with a blunt pencil. Add another layer of graphite if needed.
Step 4: Remove backing board. Replace with your drawing paper. Place same photo reference overtop with print side facing up. Position animal in centre of page.
Step 5: Using your pen draw over the top of your photo reference. Trace over the photo reference pressing hard onto the paper but not so hard that you indent the drawing paper underneath. Trace over outline of animal, shadows and any visible lines or markings. This method with transfer the graphite from the photo reference onto your drawing paper.