Pet portrait drawing
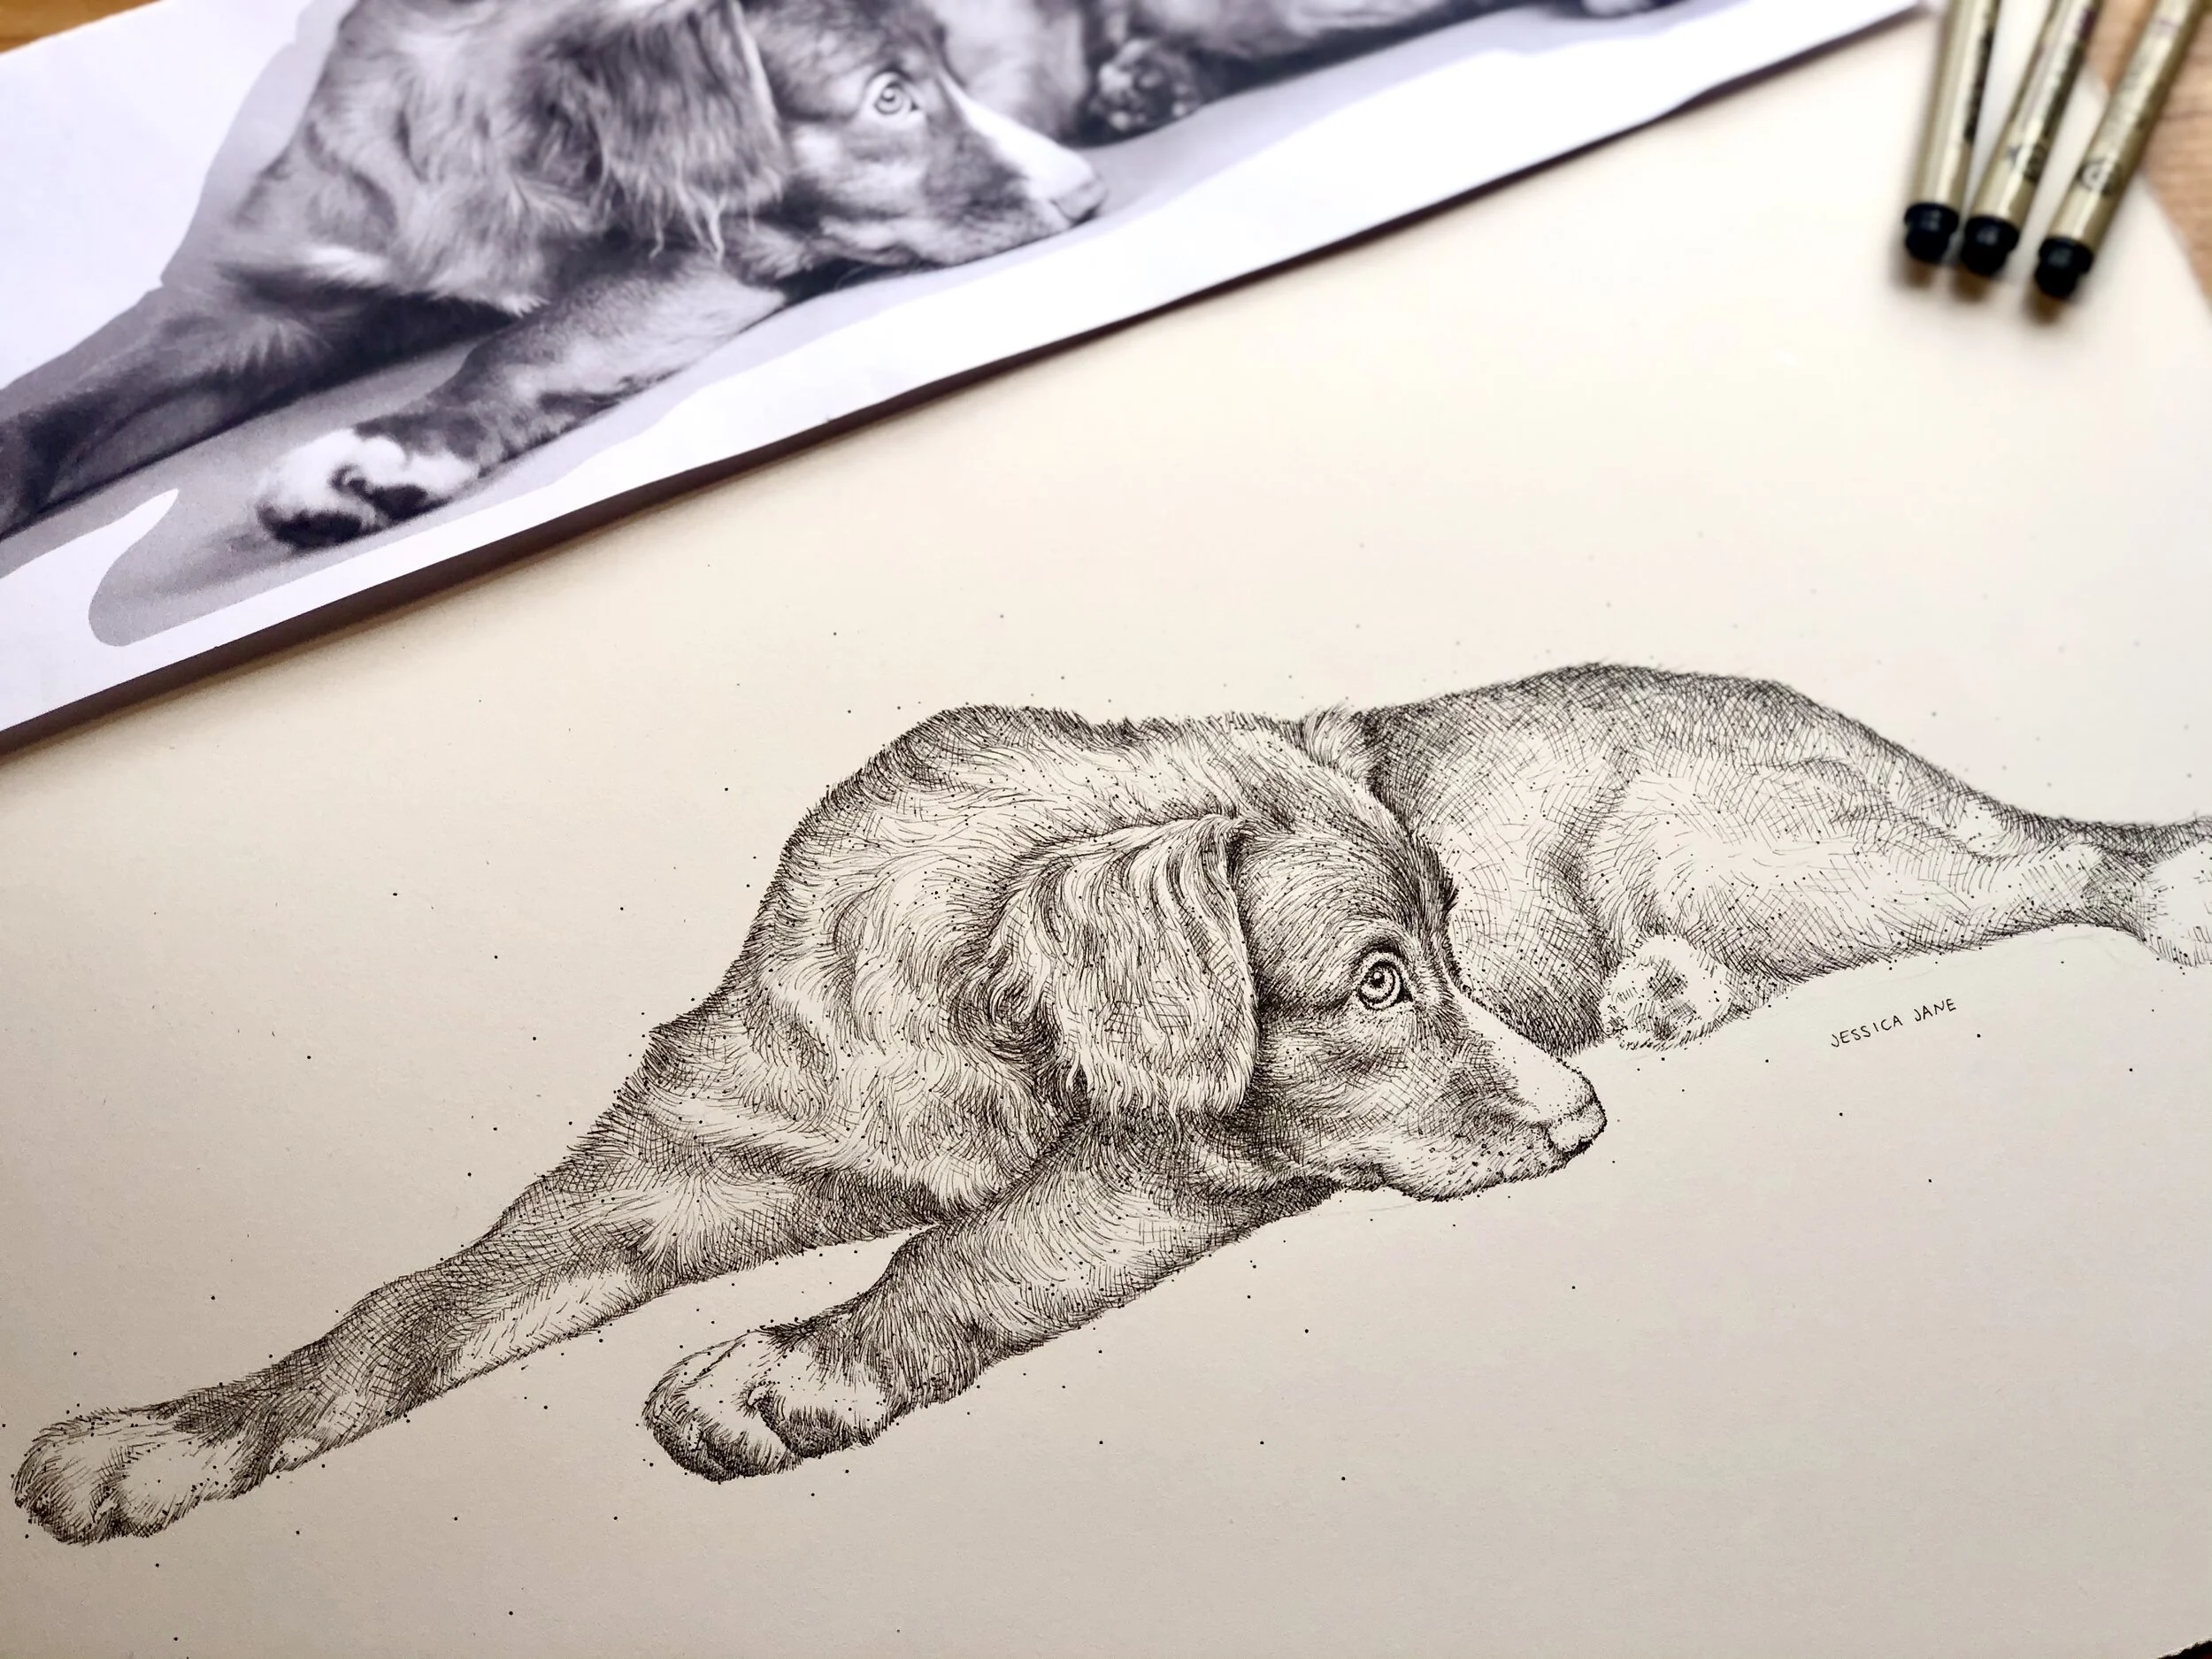
STEP 3 : Rendering
Once the outline is complete you will begin rendering your image - adding fur, shadows, tone. I start with the smallest size fine liner 005 and work my way across the whole image with thin strokes. I will layer the image over and over until I am ready to use the next size up 01. Layer across the whole image where darker, contrasted markings are needed then repeat with size 03.
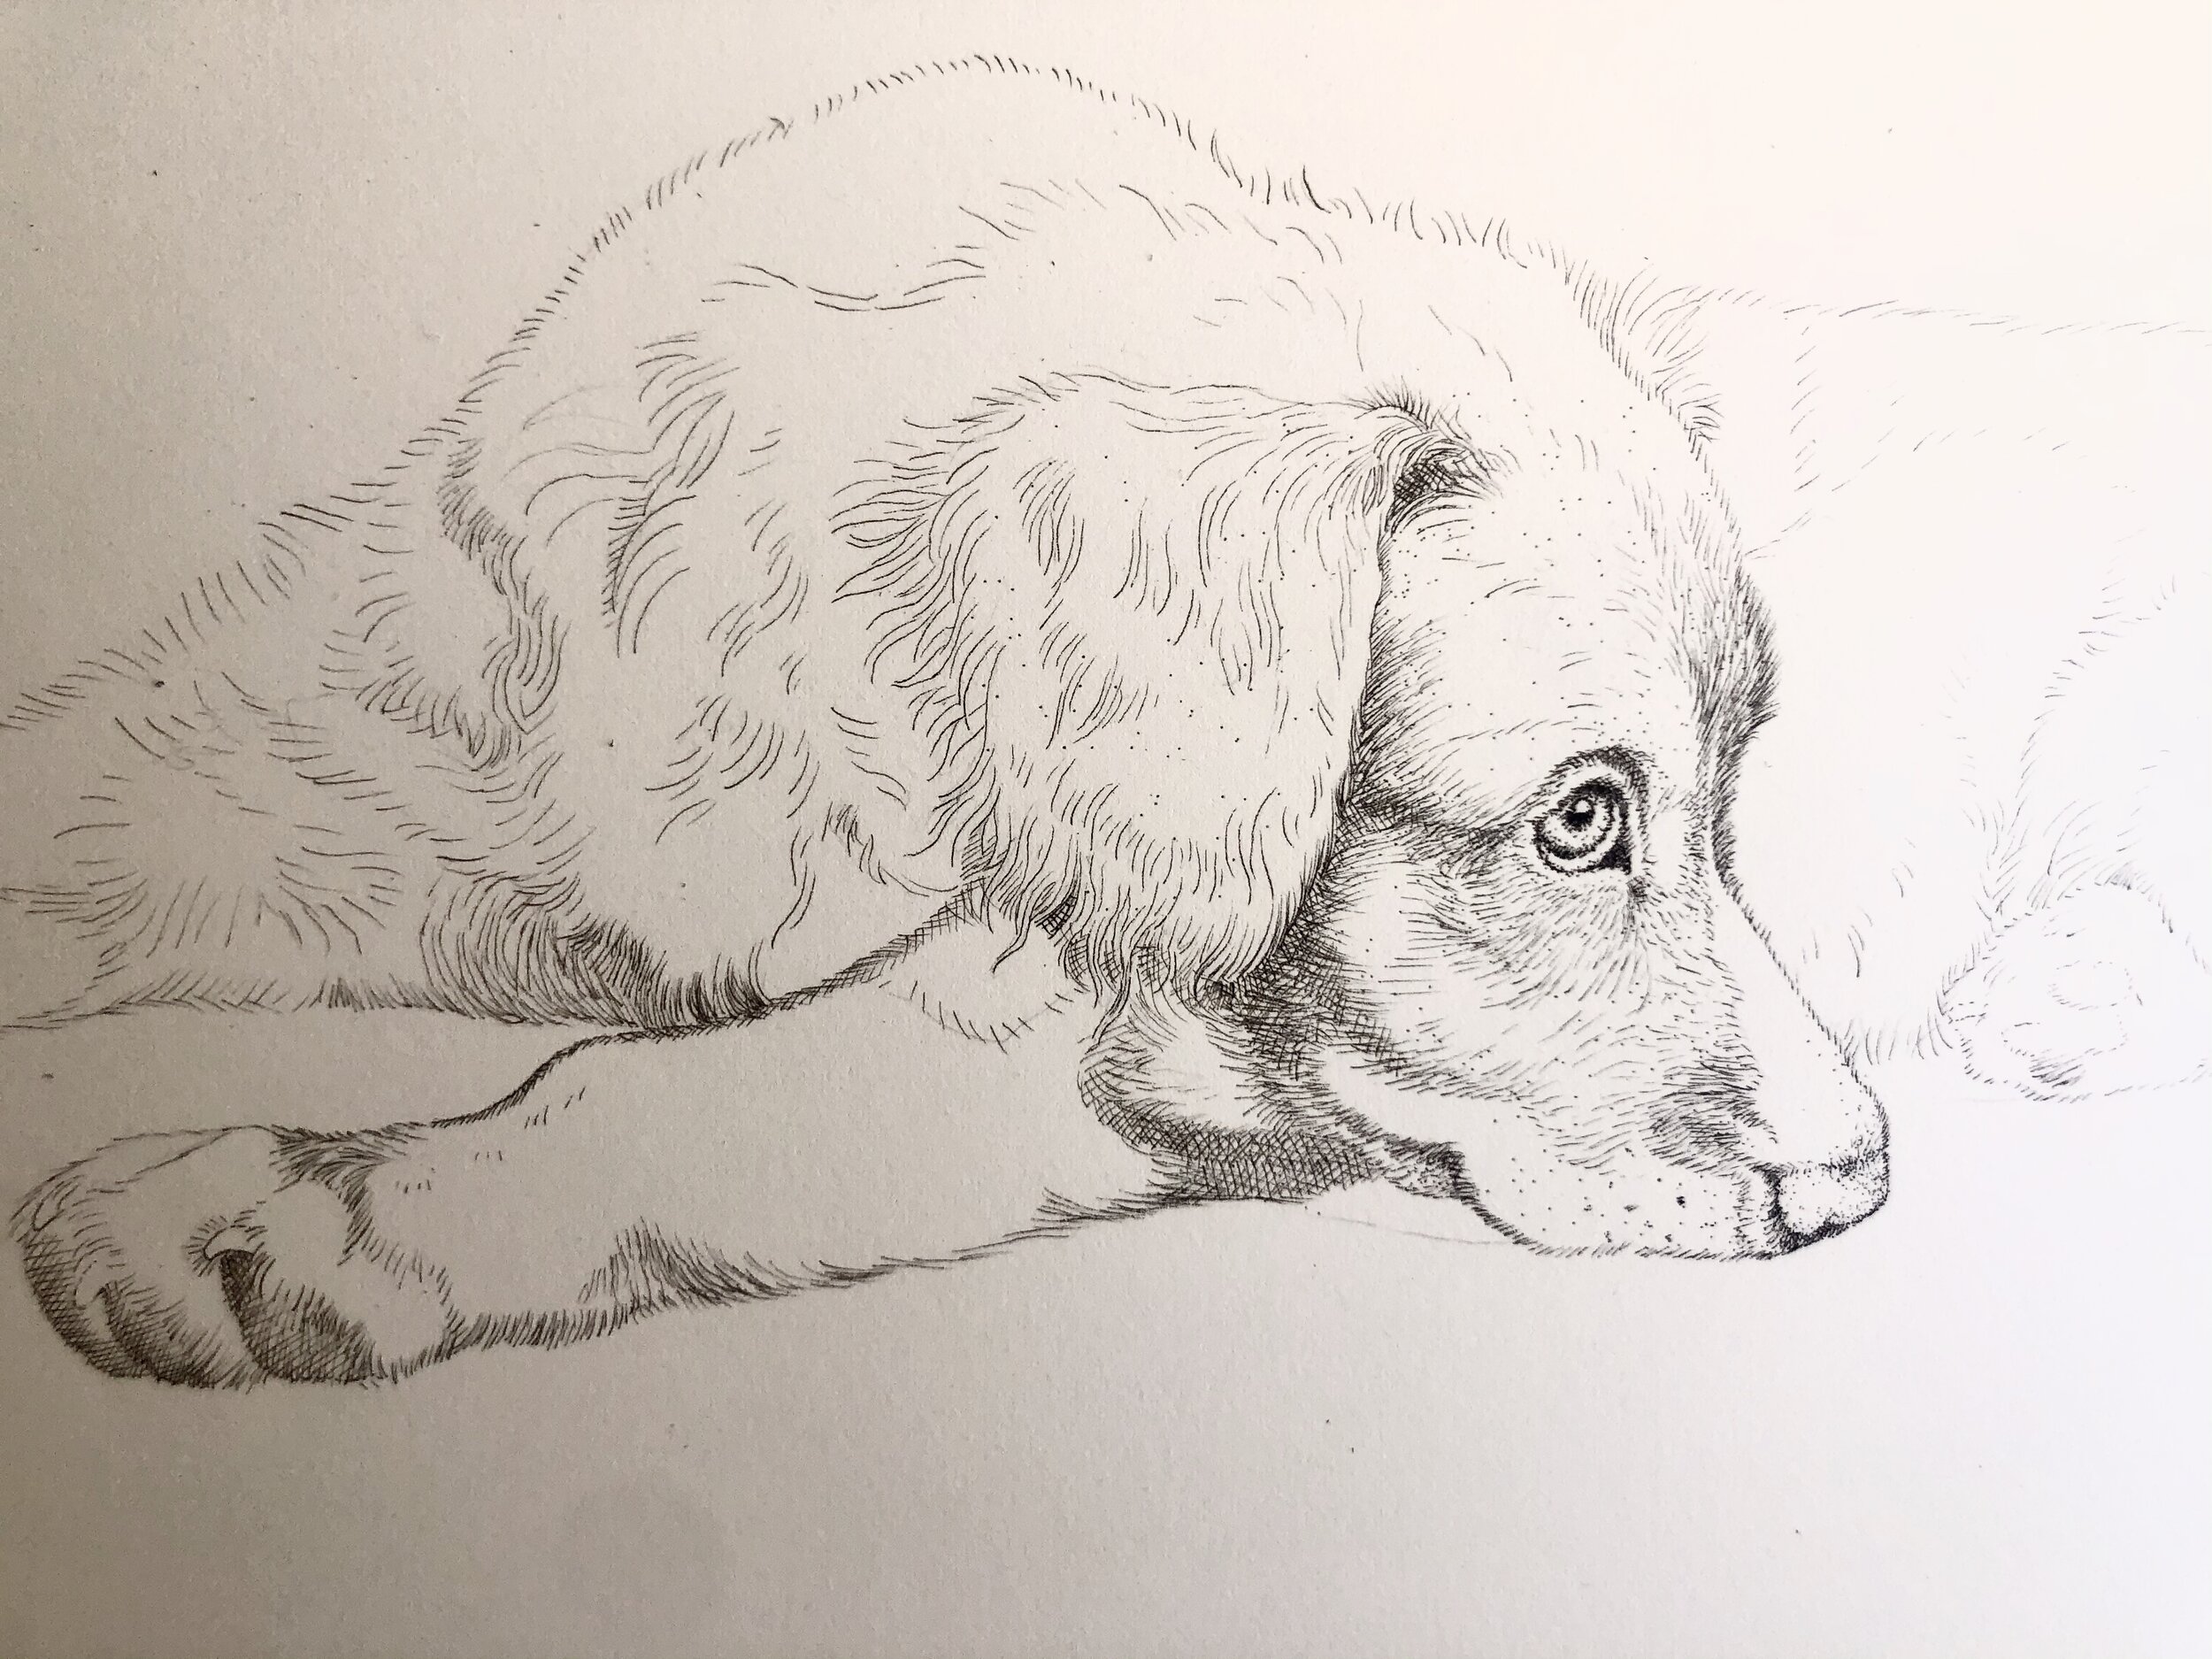
The most important feature is the eyes, then face, then in focus areas, then blurred areas. Naturally we look to the face/eyes first and focus on this area of the body. This should be reflected in your drawing. The most detail and contrast should appear in the face. If this is done you may not need to have as much detail in the remainder of the image and you will still have a successful drawing.The first thing I draw is the eyes then face. Then I will move around the whole image.
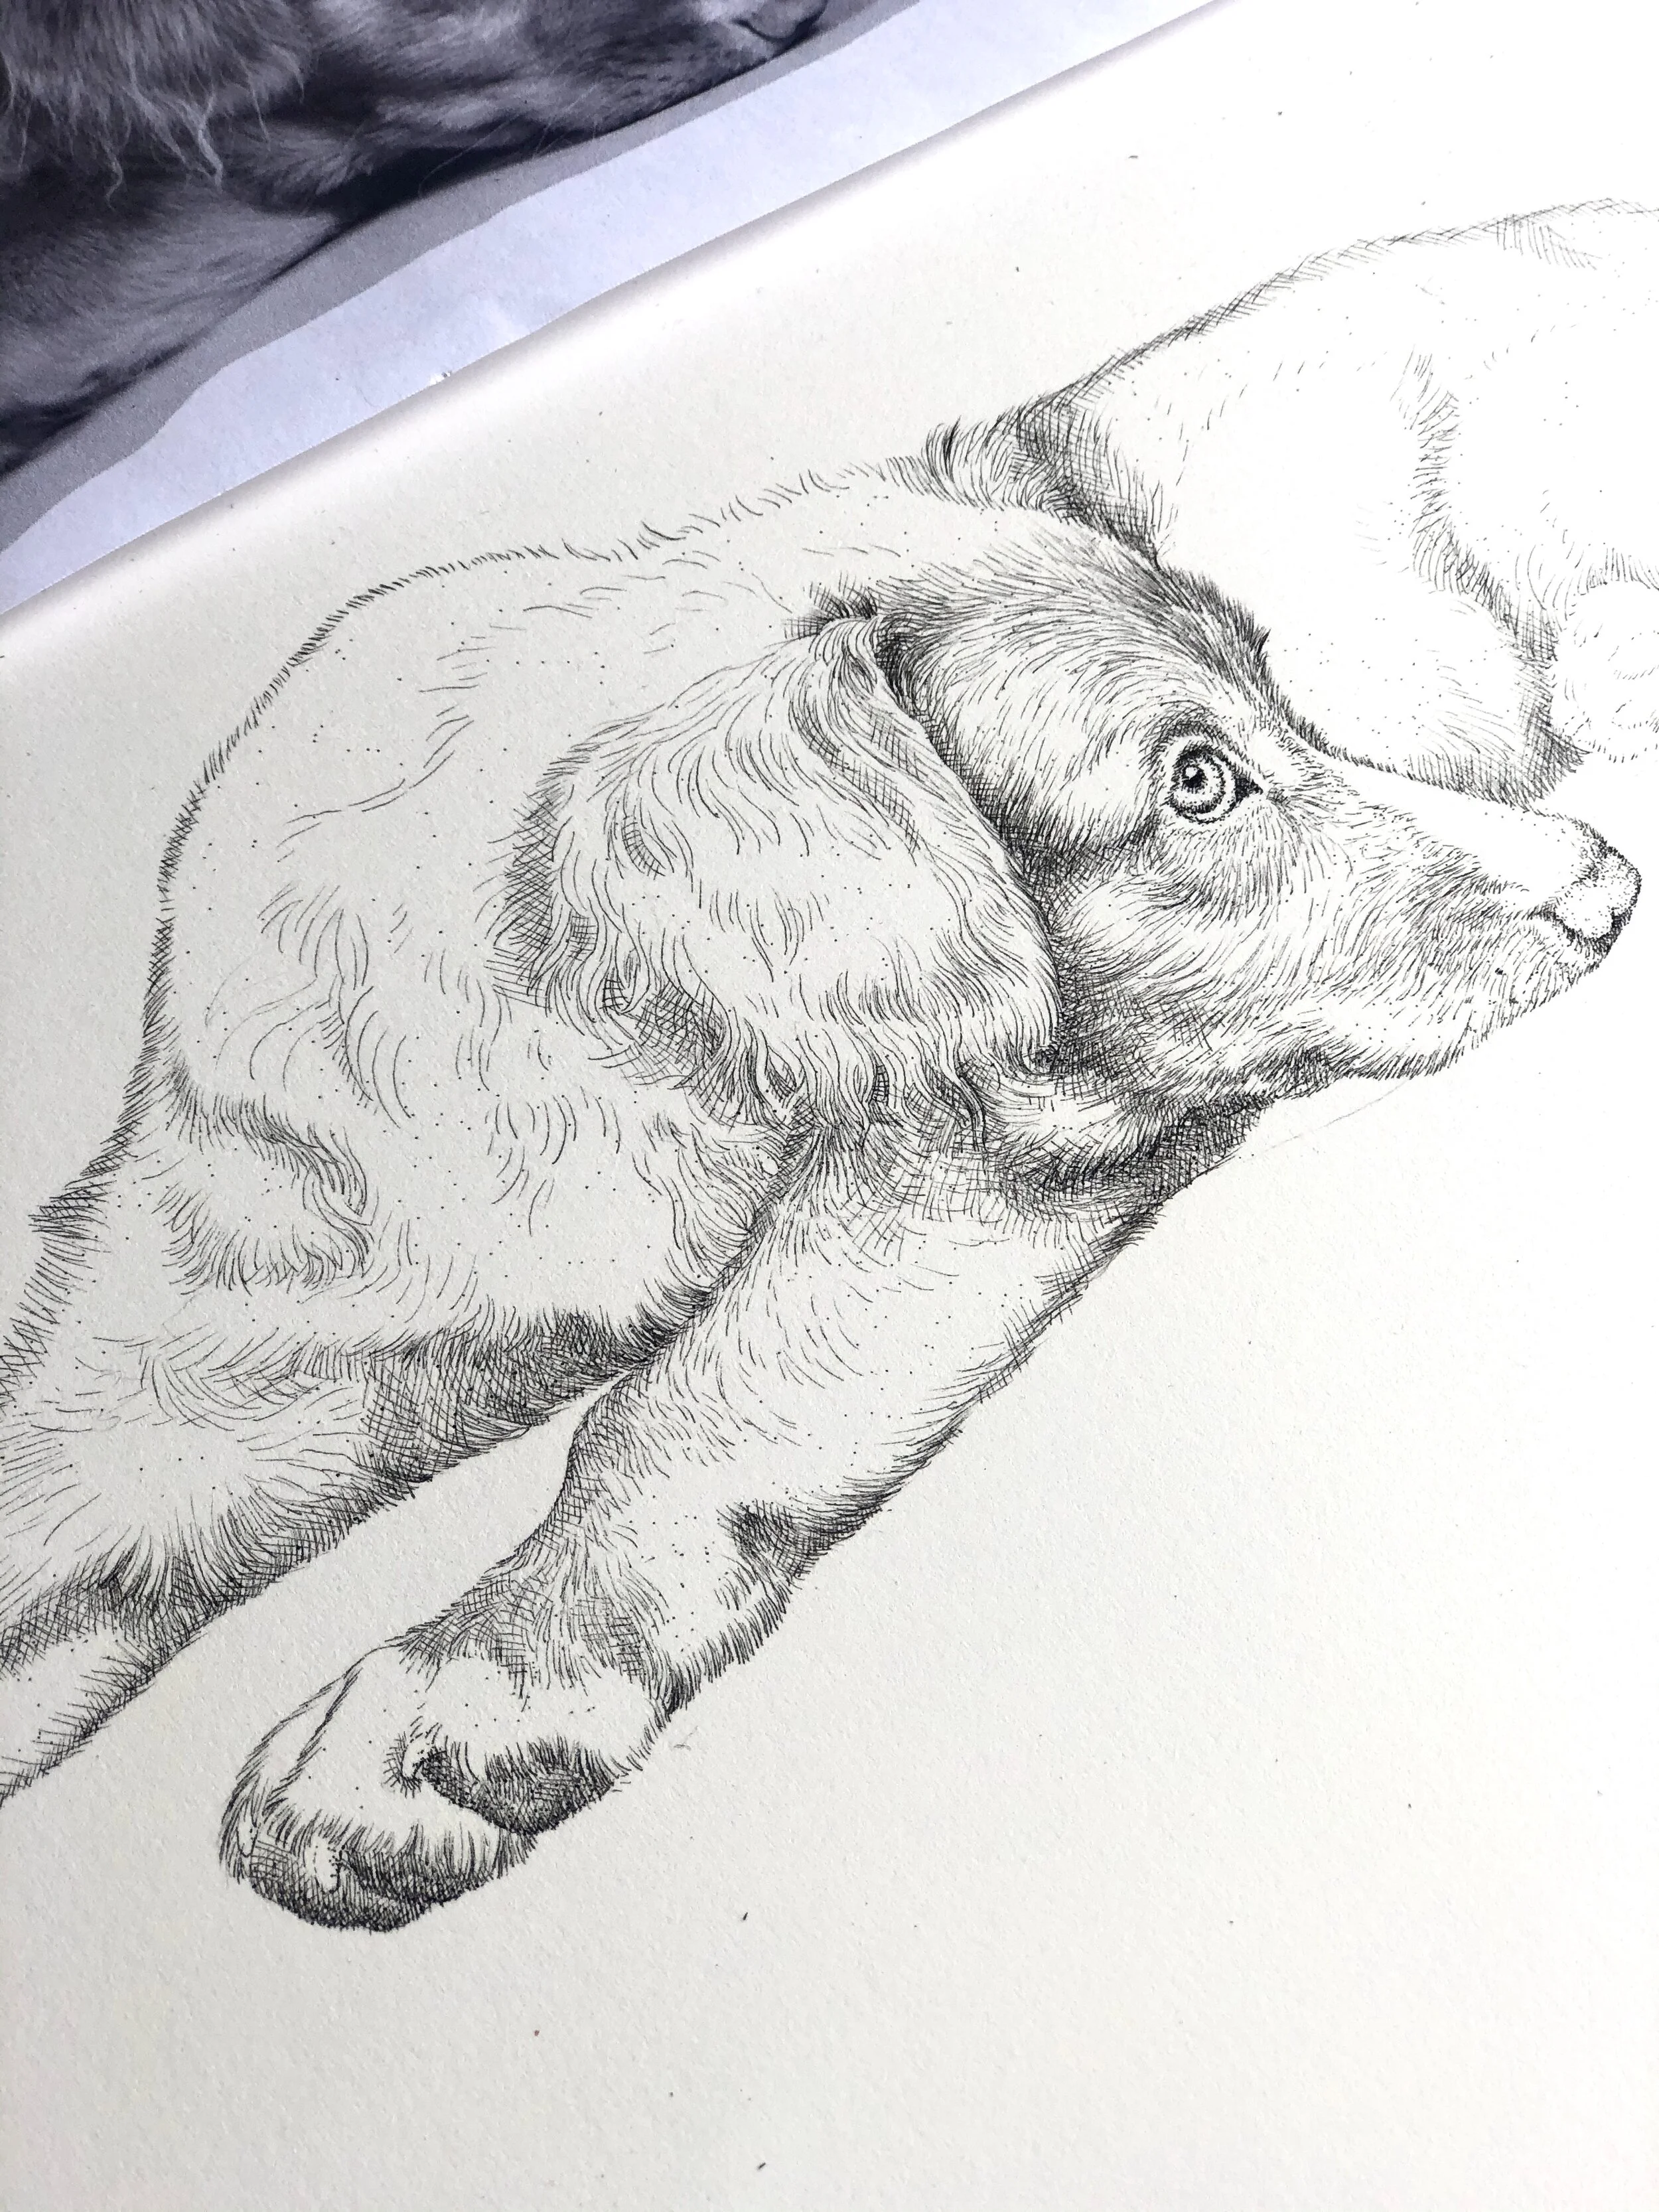
I use cross hatching to render tones/shadows and stippling to give texture and effect. Cross-hatch: To shade an area with intersecting sets of parallel lines. Stippling: To mark a surface with numerous small dots or specks. I start with an 005 fine-liner and layer over with an 01 & 03 fine-liner for darker areas and edges.
Once rendering is completed in 005 size I will move up to rendering in 01 size and then 03. Once image is done I like to finish with some specks of stippling. This just a personal effect I like to add to my drawings to give a whimsical effect. Don’t forget to sign your artwork! Think about placement. Layout your name in a spot that compliments your drawing layout.