
Pet portrait drawing
STEP 1 : TRACING
For the pet portrait workshop we will start with the easiest and most accurate form of outlining: Tracing using a light box or window. For pet drawing commissions were you might have a tight budget this is time efficient and the most accurate way to present the animal’s true size, form, expression, ect. Any stylistic aesthetic elements of your drawing style can be added when drawing the final piece.
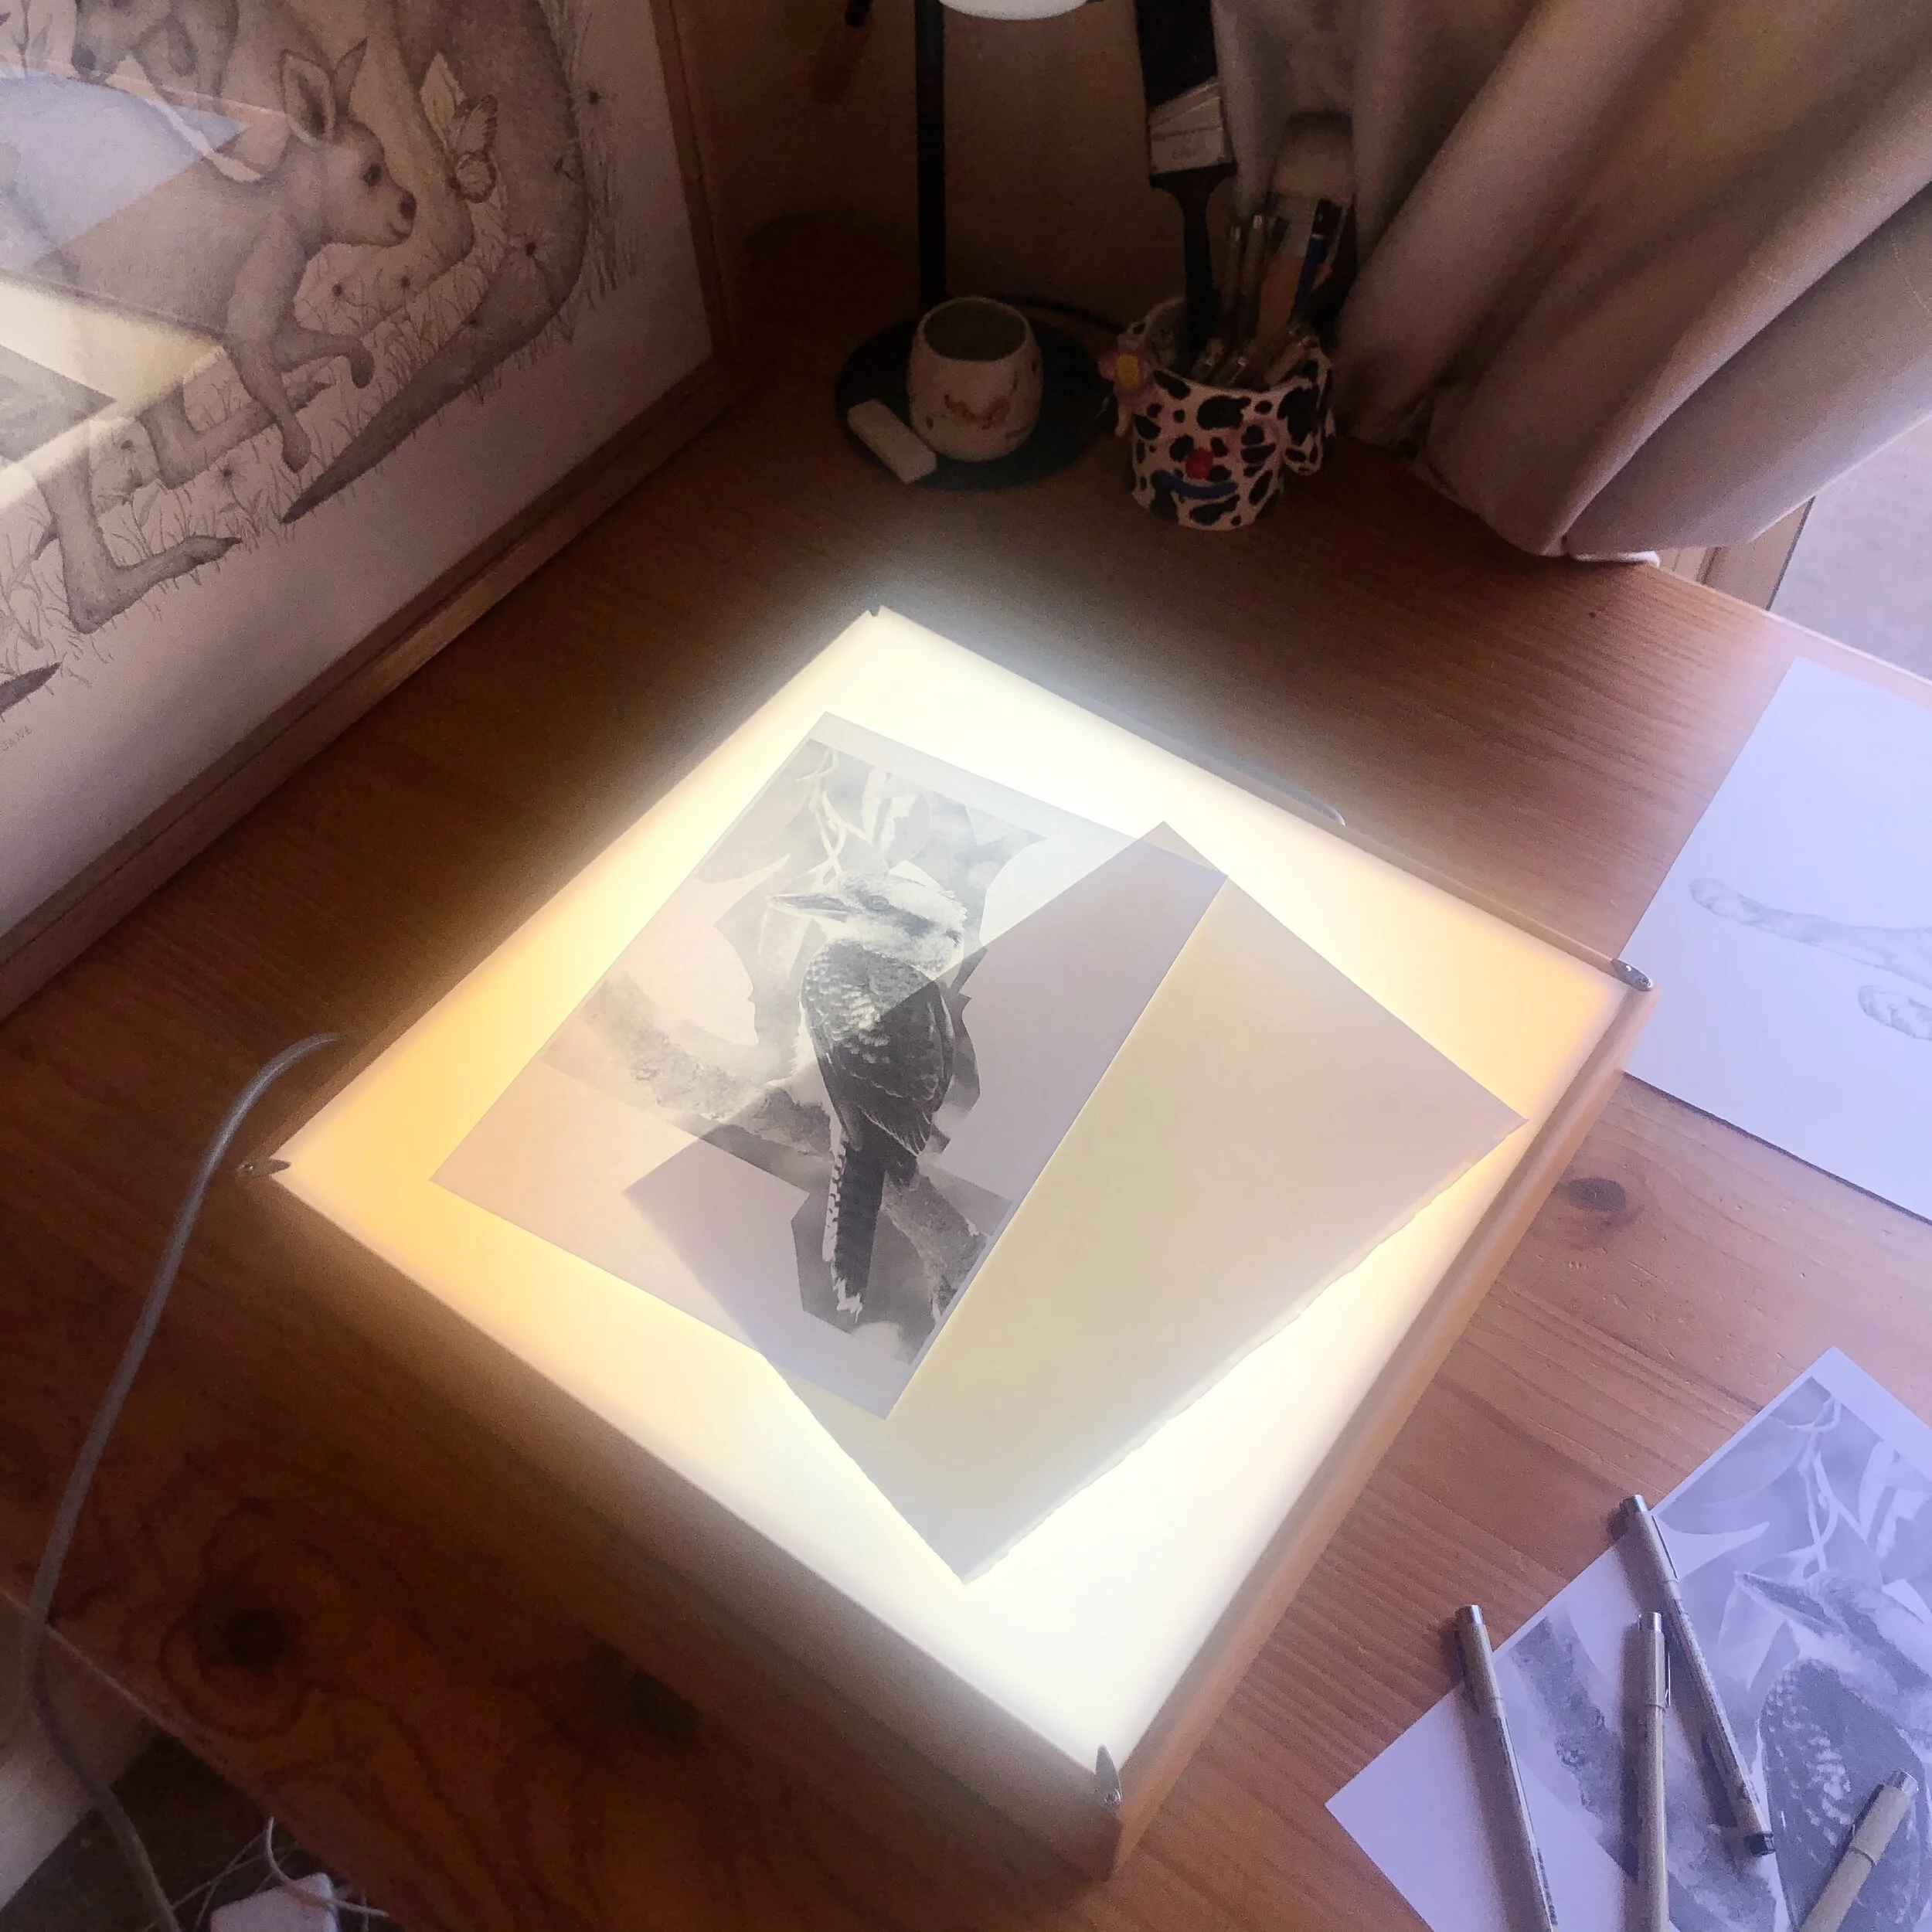
Use a lightbox in a dark room with lights off, curtains closed.
Turn on Lightbox. Place printed photo on lightbox and drawing paper over top. Position the paper so animal is in centre of paper.
Using a sharpened HB pencil, begin outlining.
Outline around the animal, facial features, lines in fur/skin, faintly outline any shadows. Outline any markings you can see.
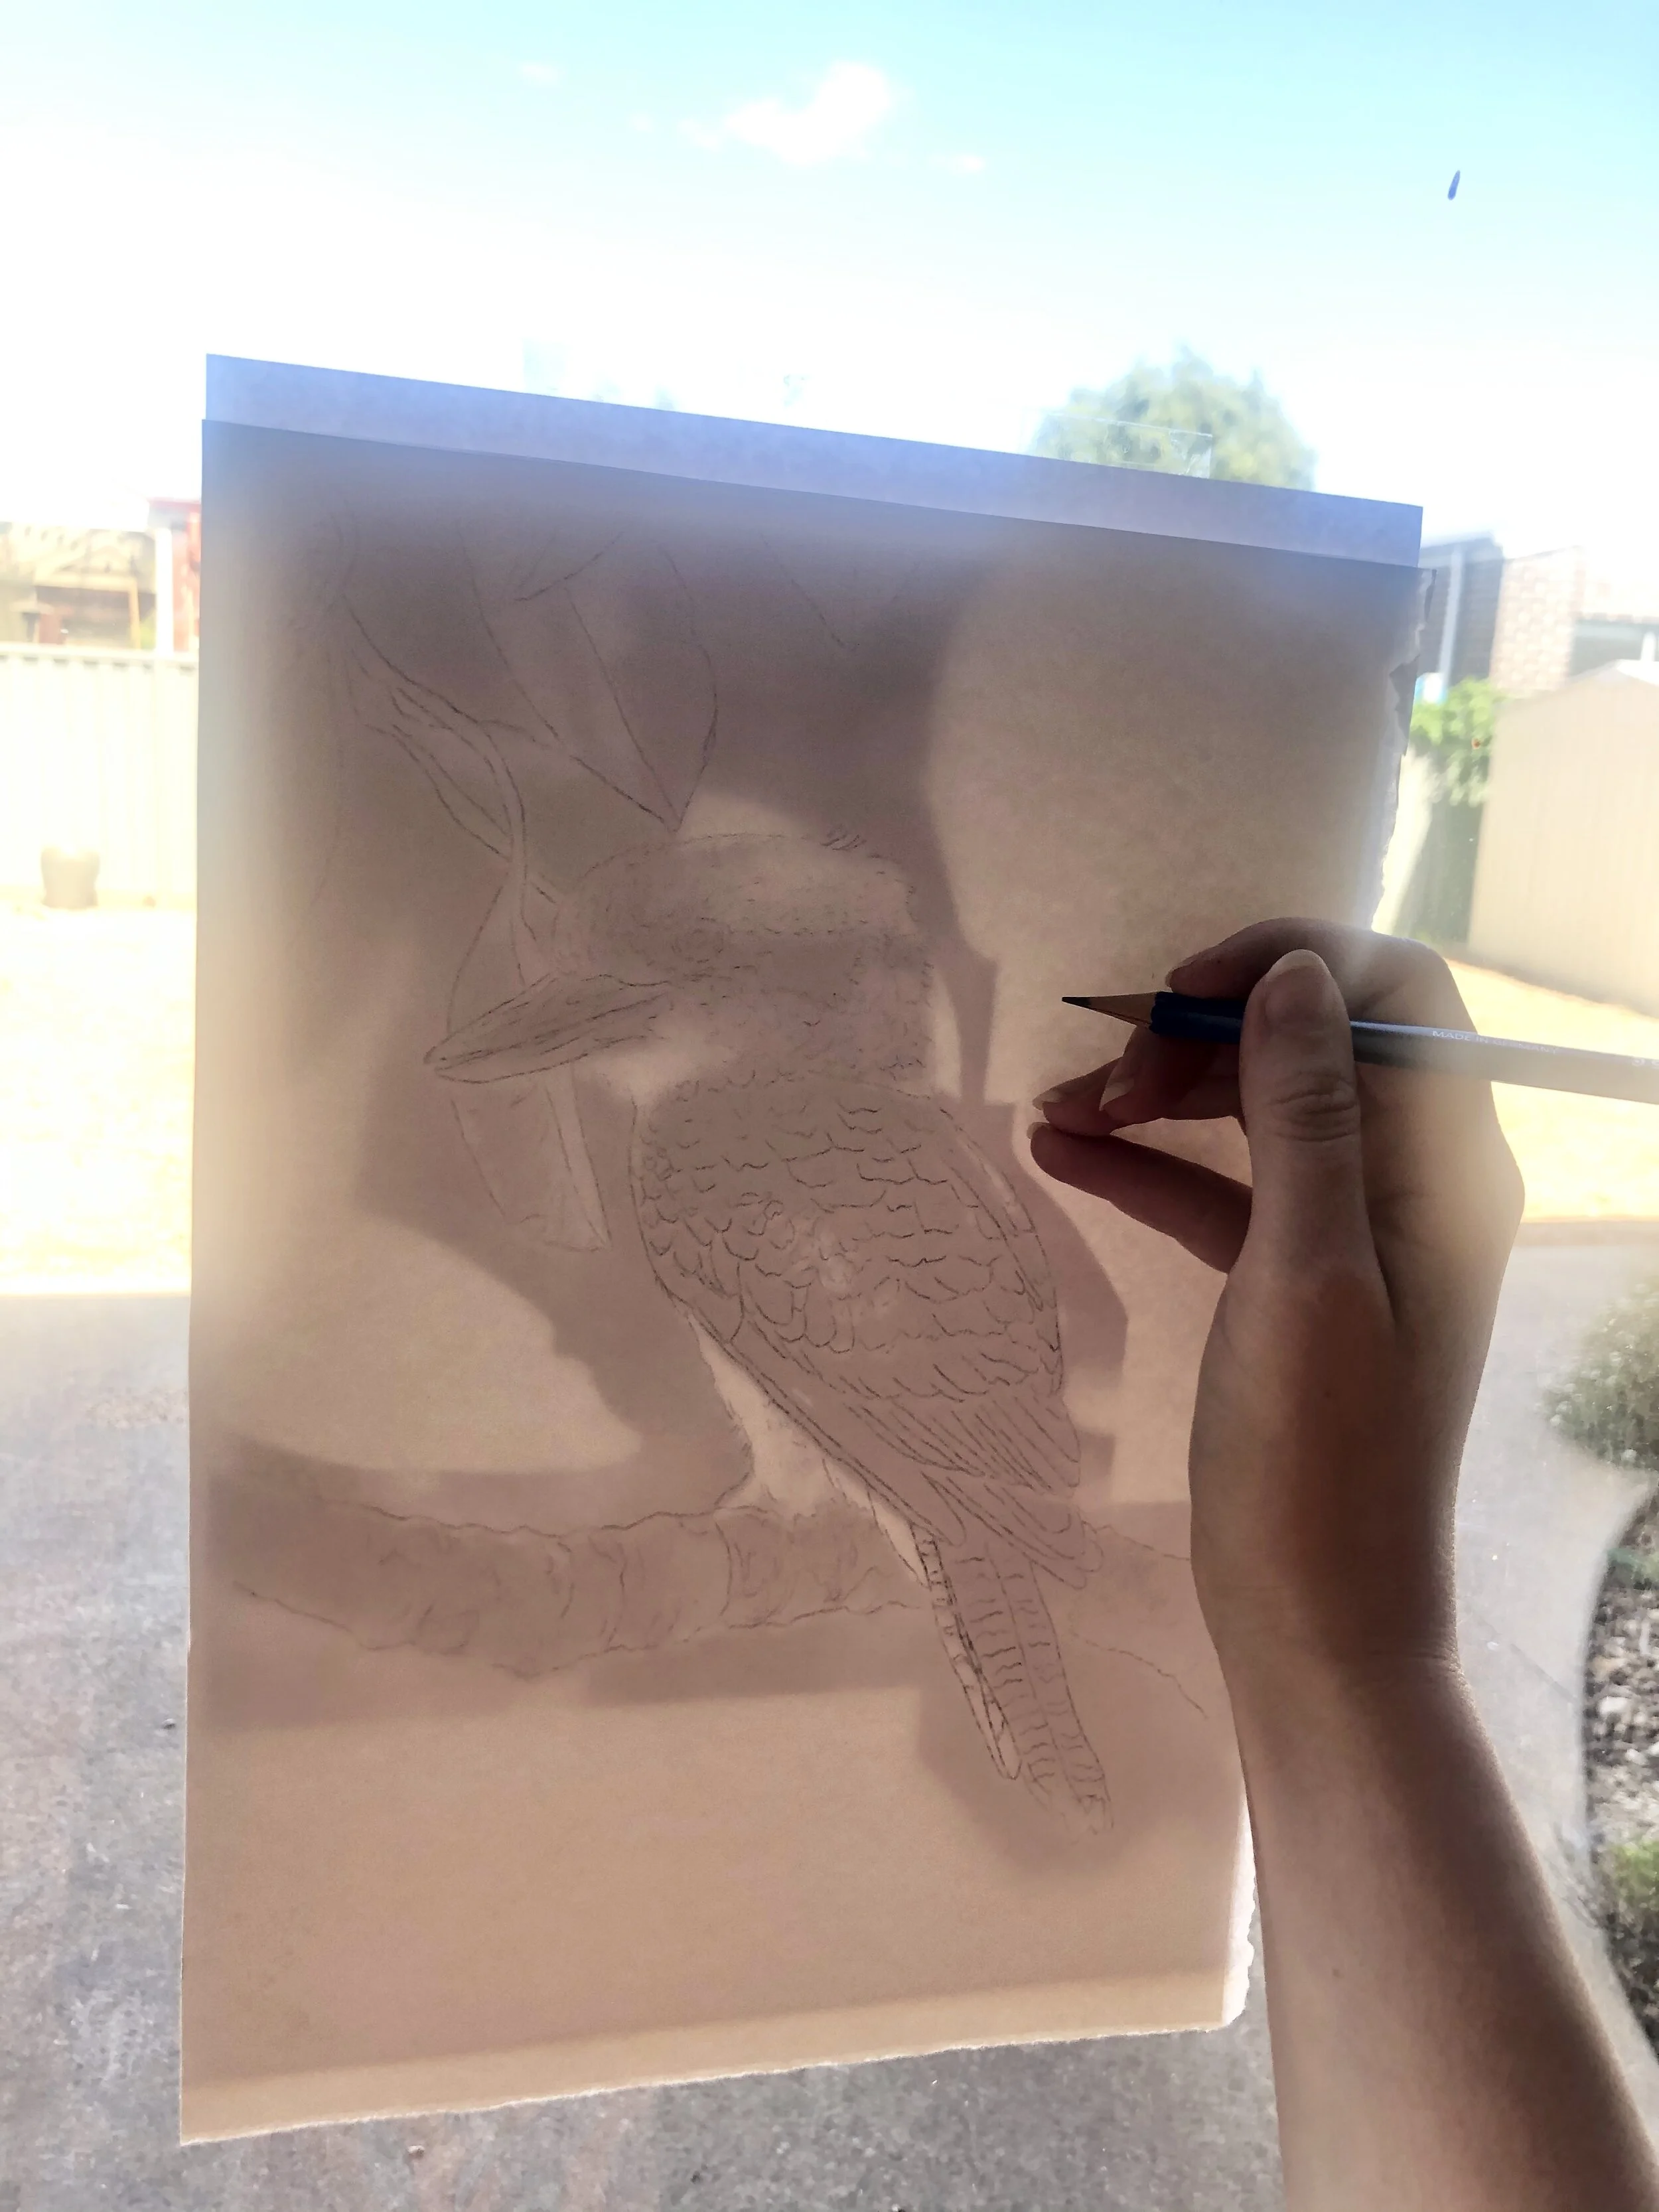
If you don’t own a light box, a window will work just as well! Make sure it is well lit outside. The sun moves throughout the day. Try to use a window on the brightest side of the house.
Using sticky tape or blu tack, stick your photo firmly to the window.
Place your drawing paper on top and either blu tack in place of hold in place with one hand.
Repeat outline steps in previous slide.

Example of a good quality photo reference to draw from.
See https://www.jessicajaneillustration.com/pet-portrait-photo-reference/ for photo taking tips.

As my artworks are black & white ink drawings I always make an edited greyscale version of my photo reference. This remove the distraction of colour and gives focus too light and dark tones. I will print the image in black & white. This also uses less printing ink. I will edit out the background as this will not be drawn and again saves printing ink.

RESULTS! It might look a little messy but it is essential to mark any all areas of the image you can see when tracing. These pencil markings will be rubbed out eventually so mark up as much as you can!
Watch the tracing process from start to finish!