
HOW TO TAKE DRAWING QUALITY PHOTOS OF YOUR PETS
Hello and welcome to the first part of your PET DRAWING WORKSHOP! I hope your excited to get started.
In this workshop you will get to draw your own loveable pet. Before you can start you will need to take an image of your pet to be drawn.
If you don’t have a pet that’s ok. You can go out and take a photo of a family friends pet or photograph your local wildlife. The zoo is a great place to take some animal snaps!
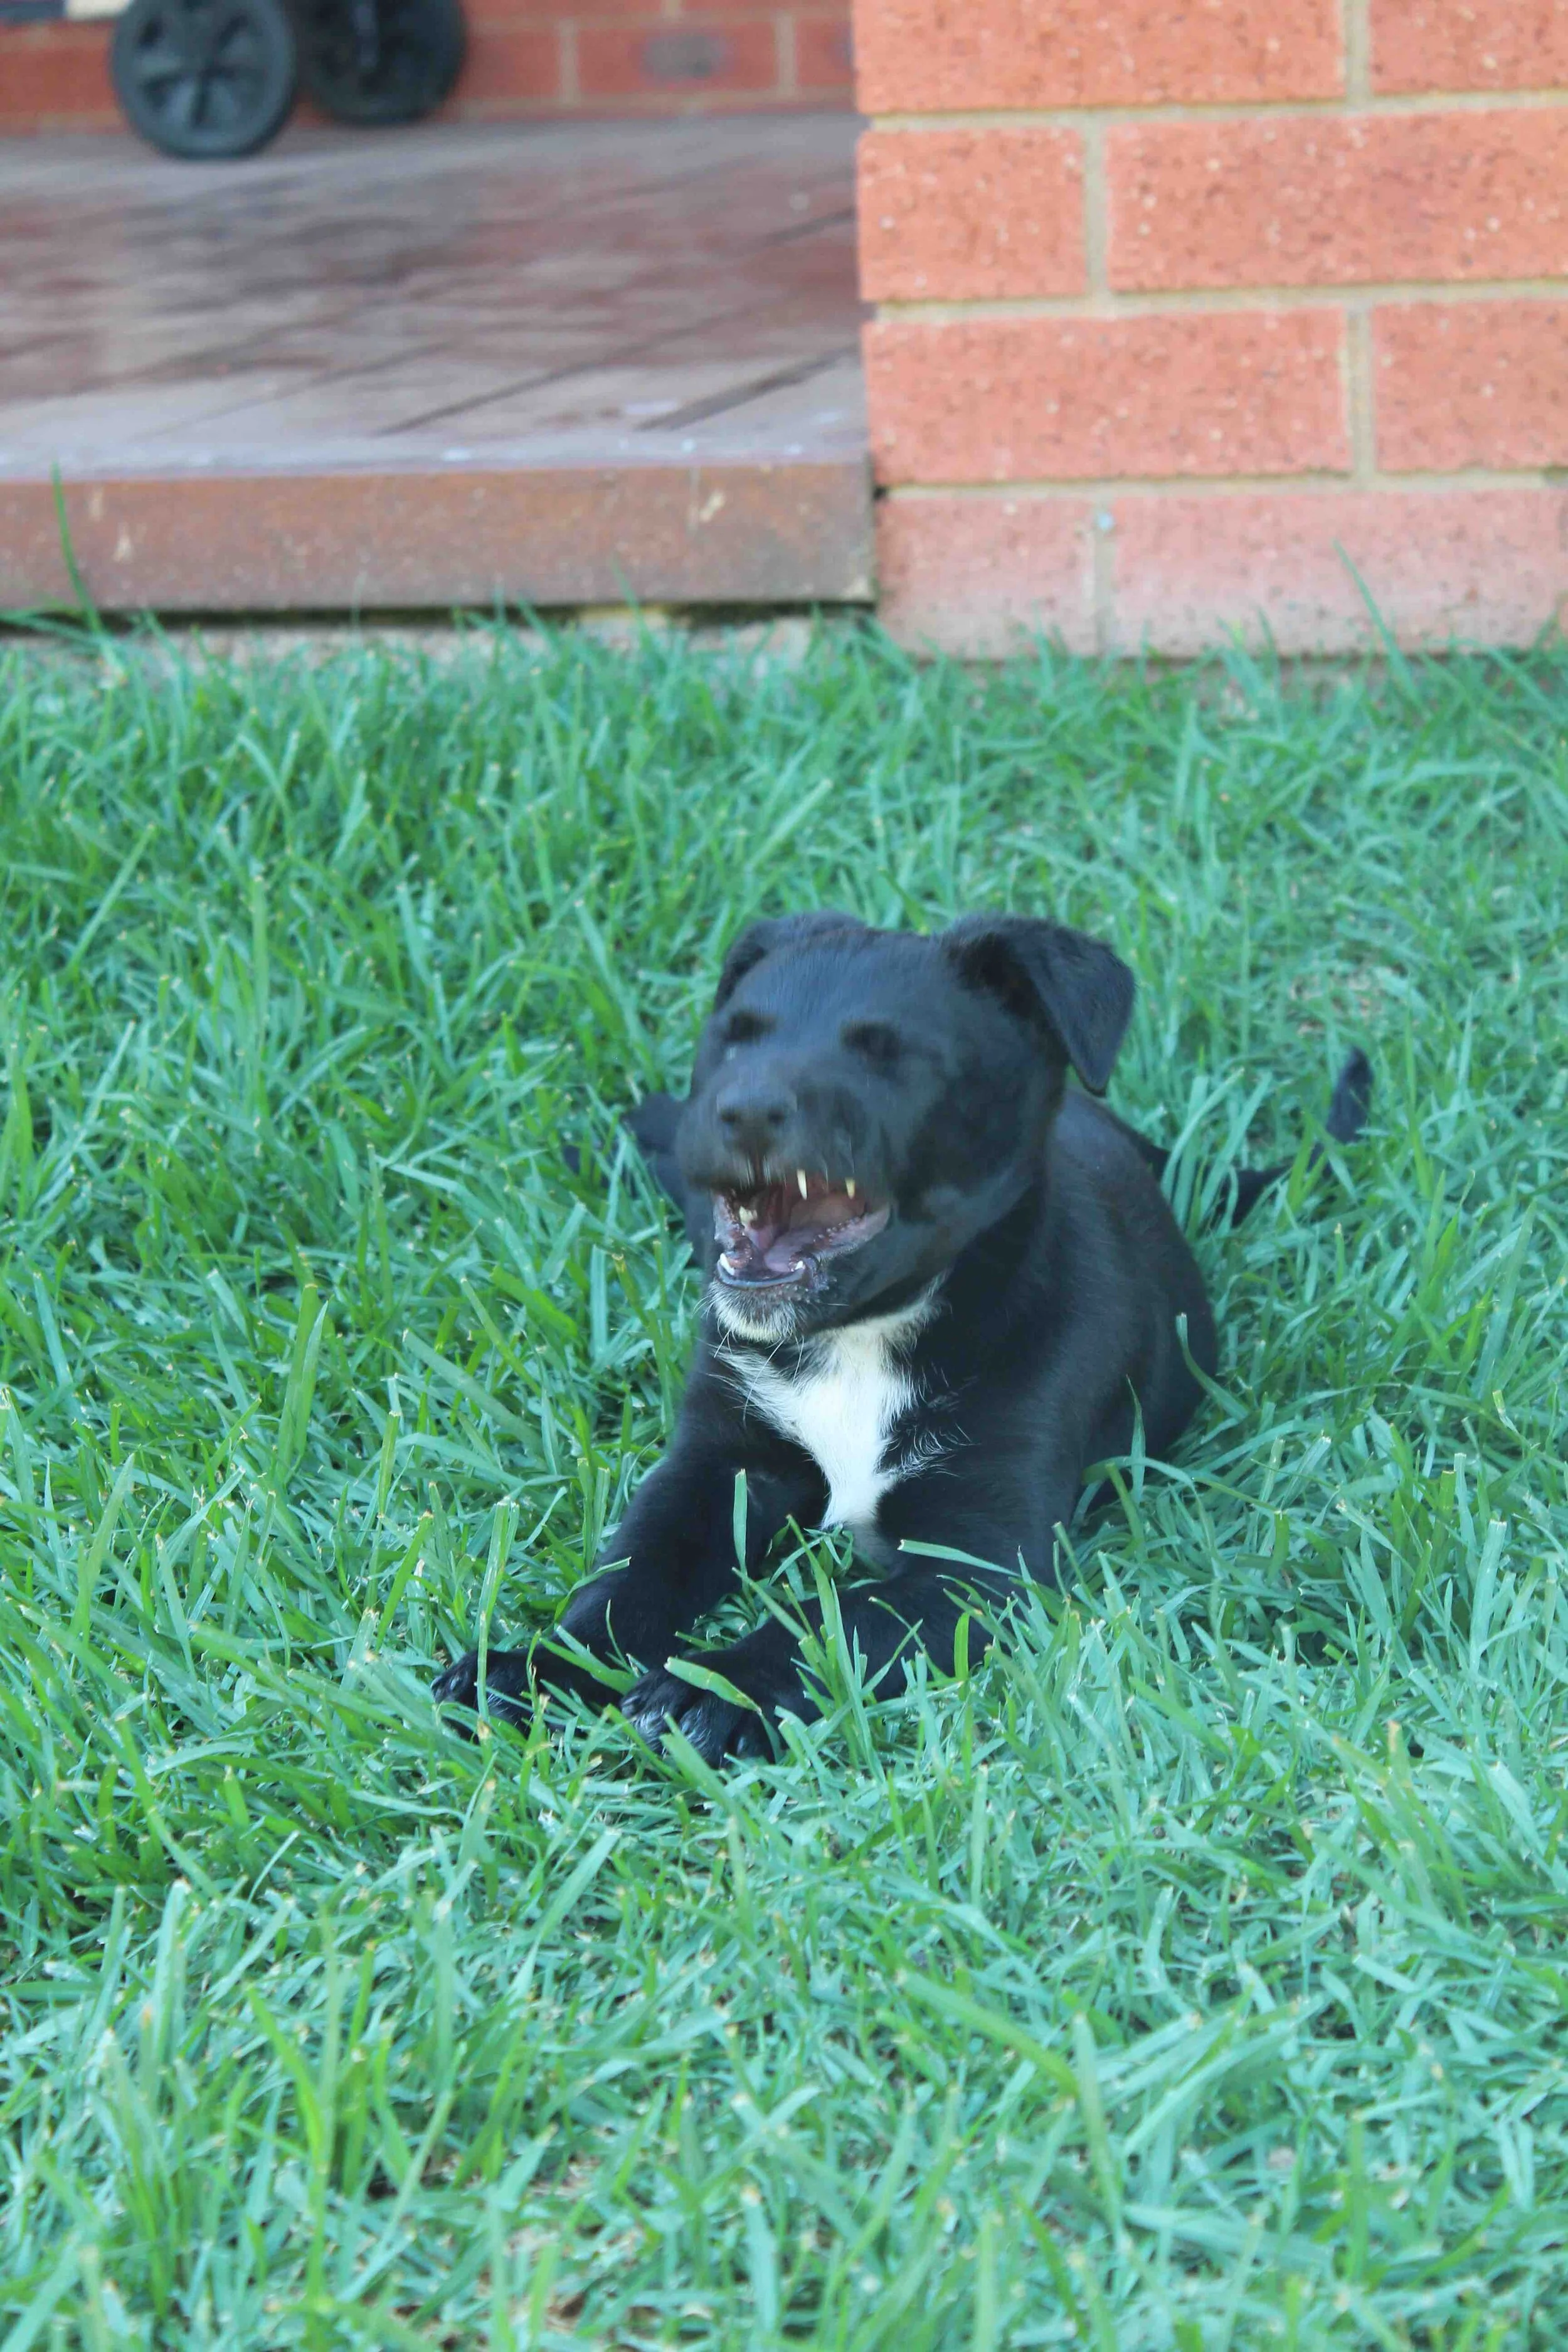
BAD QUALITY PHOTO

GOOD QUALITY PHOTO

GOOD QUALITY PHOTO = GOOD DRAWING
The two photographs above were taken in the same photo shoot. As you can see it is very easy to take a bad photo of your pet! But even puppies can stay still and sit just long enough to get the right snap! Most of our animals are wriggly and don’t want to stay still for long. That is ok! You just need to be patient and keep trying (also have fun with it).
HOW DO YOU GET THE RIGHT PHOTO OF YOUR PET?
Firstly natural lighting is key! Either in a well lit room or better, outside during the day. Cloudy/sunny days are best to avoid harsh lighting from the sun or dull rainy days. Have your pet facing toward the direction of the sun or in a evenly lit environment with no harsh shadows. In the case of this puppy using treats as encouragement to get the pet too SIT and STAY got us the shot! It is best to take the photo at the animals eye level. So crouch down, hold the camera lens to the eye level of the pet. This means that the pet’s head will be facing straight ahead as it would naturally.
HOW DO YOU GET A GOOD QUALITY PHOTO OF YOUR PET?
Usually these days you can get great photos just using your phone camera. I generally move between taking photos on an SLR camera and iphone. When taking photos you want to make sure the pet is in-focus and clearly visible. You will want your photo to be large enough that it will cover the size of paper you are drawing on. Images over 1 mega bite in size generally zoom in well enough. You will also want to make sure you are using the original photo taken, not a screenshot or photo that has been decreased in size or edited. When you take your photo, be careful not to crop any parts of the body out. JPG, PDF, PNG or TIFF files work well.
WHAT MAKES A BAD PHOTO?

HARSH LIGHTING IN TOP LEFT CORNER. IMAGE IS CROPPED. PHOTO IS NOT IN FOCUS. PHOTO IS TAKEN FROM ABOVE = AWKARD ANGLE, HEAD IS FACING DOWN.

GOOD LIGHTING BUT FUZZY PHOTO. NOT IN FOCUS. TRY TO GET PET TO STAY AS STILL AS POSSIBLE.

IN FOCUS PHOTO BUT TAKEN IN HARSH LIGHTING. BODY IS NOT VISIBLE. A PHOTO WITH JUST THE HEAD AND FRONT LEGS MAY LOOK AWKARD IN A DRAWING = BAD LAYOUT. IF PET IS LYING DOWN PHOTO COULD BE TAKED FROM THE SIDE INSTEAD WITH HEAD FACING TOWARD CAMERA.
GOOD QUALITY PHOTO EXAMPLE

THE FACE SHOULD BE THE MAIN FOCUS OF YOUR PHOTO. JUST LIKE WHEN WE LOOK AT ARTWORK OR PHOTOS OF PEOPLE, WE LOOK AND FOCUS ON THE EYES/FACE FIRST. THIS IS WERE WE READ EMOTION AND COMMUNICATION.
PRINTING YOUR REFERENCE PHOTO
Before printing your image edit your image to greyscale by removing the saturation in your photo editing devices on your phone of computer. Because we are not drawing with colour removing saturation in your photo image will help too focus on light and dark tones. You can use your home printer to print your image on A4 photocopy paper.
GOOD LUCK WITH PHOTO TAKING!