
BOTANICAL ILLUSTRATION WORKSHOP
STEP 3 : Rendering
After the outline is done, still using the 005 fine liner I make small parallel lines within my drawing across all outlined areas. This is the beginning of your rendering stage and adds more definition to your outline. Watch this in the video up too 1 min 6 seconds.
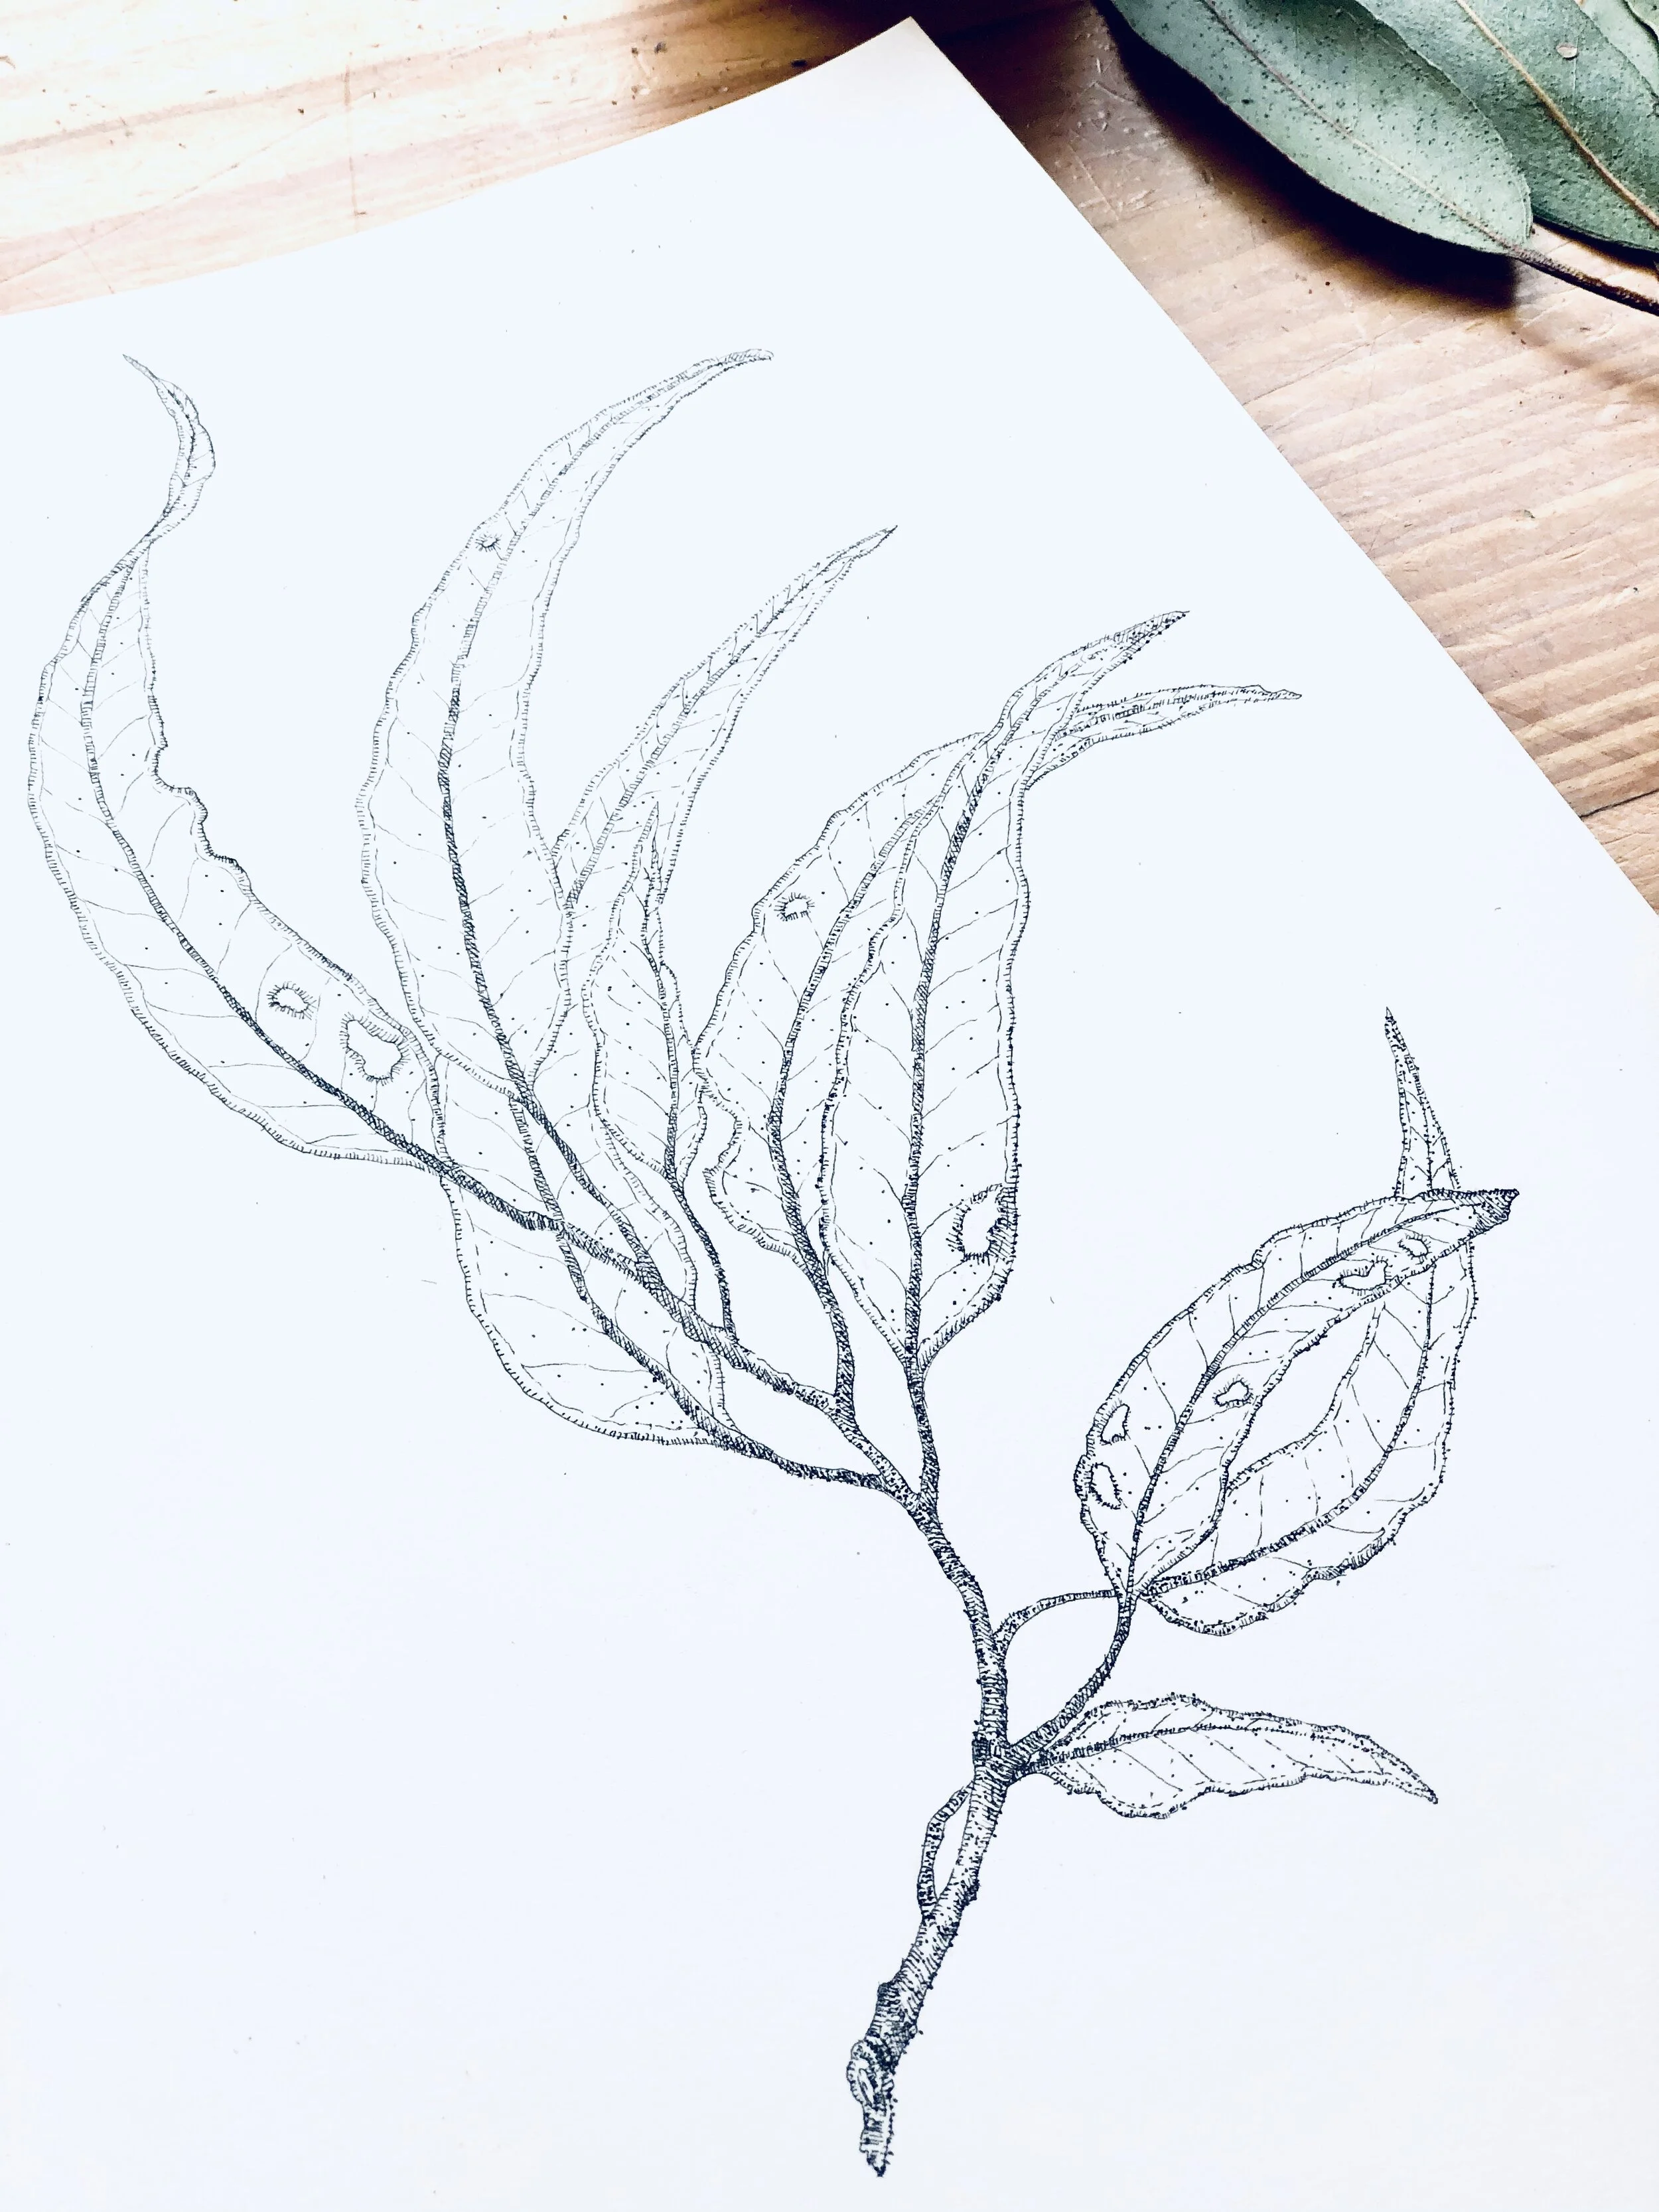
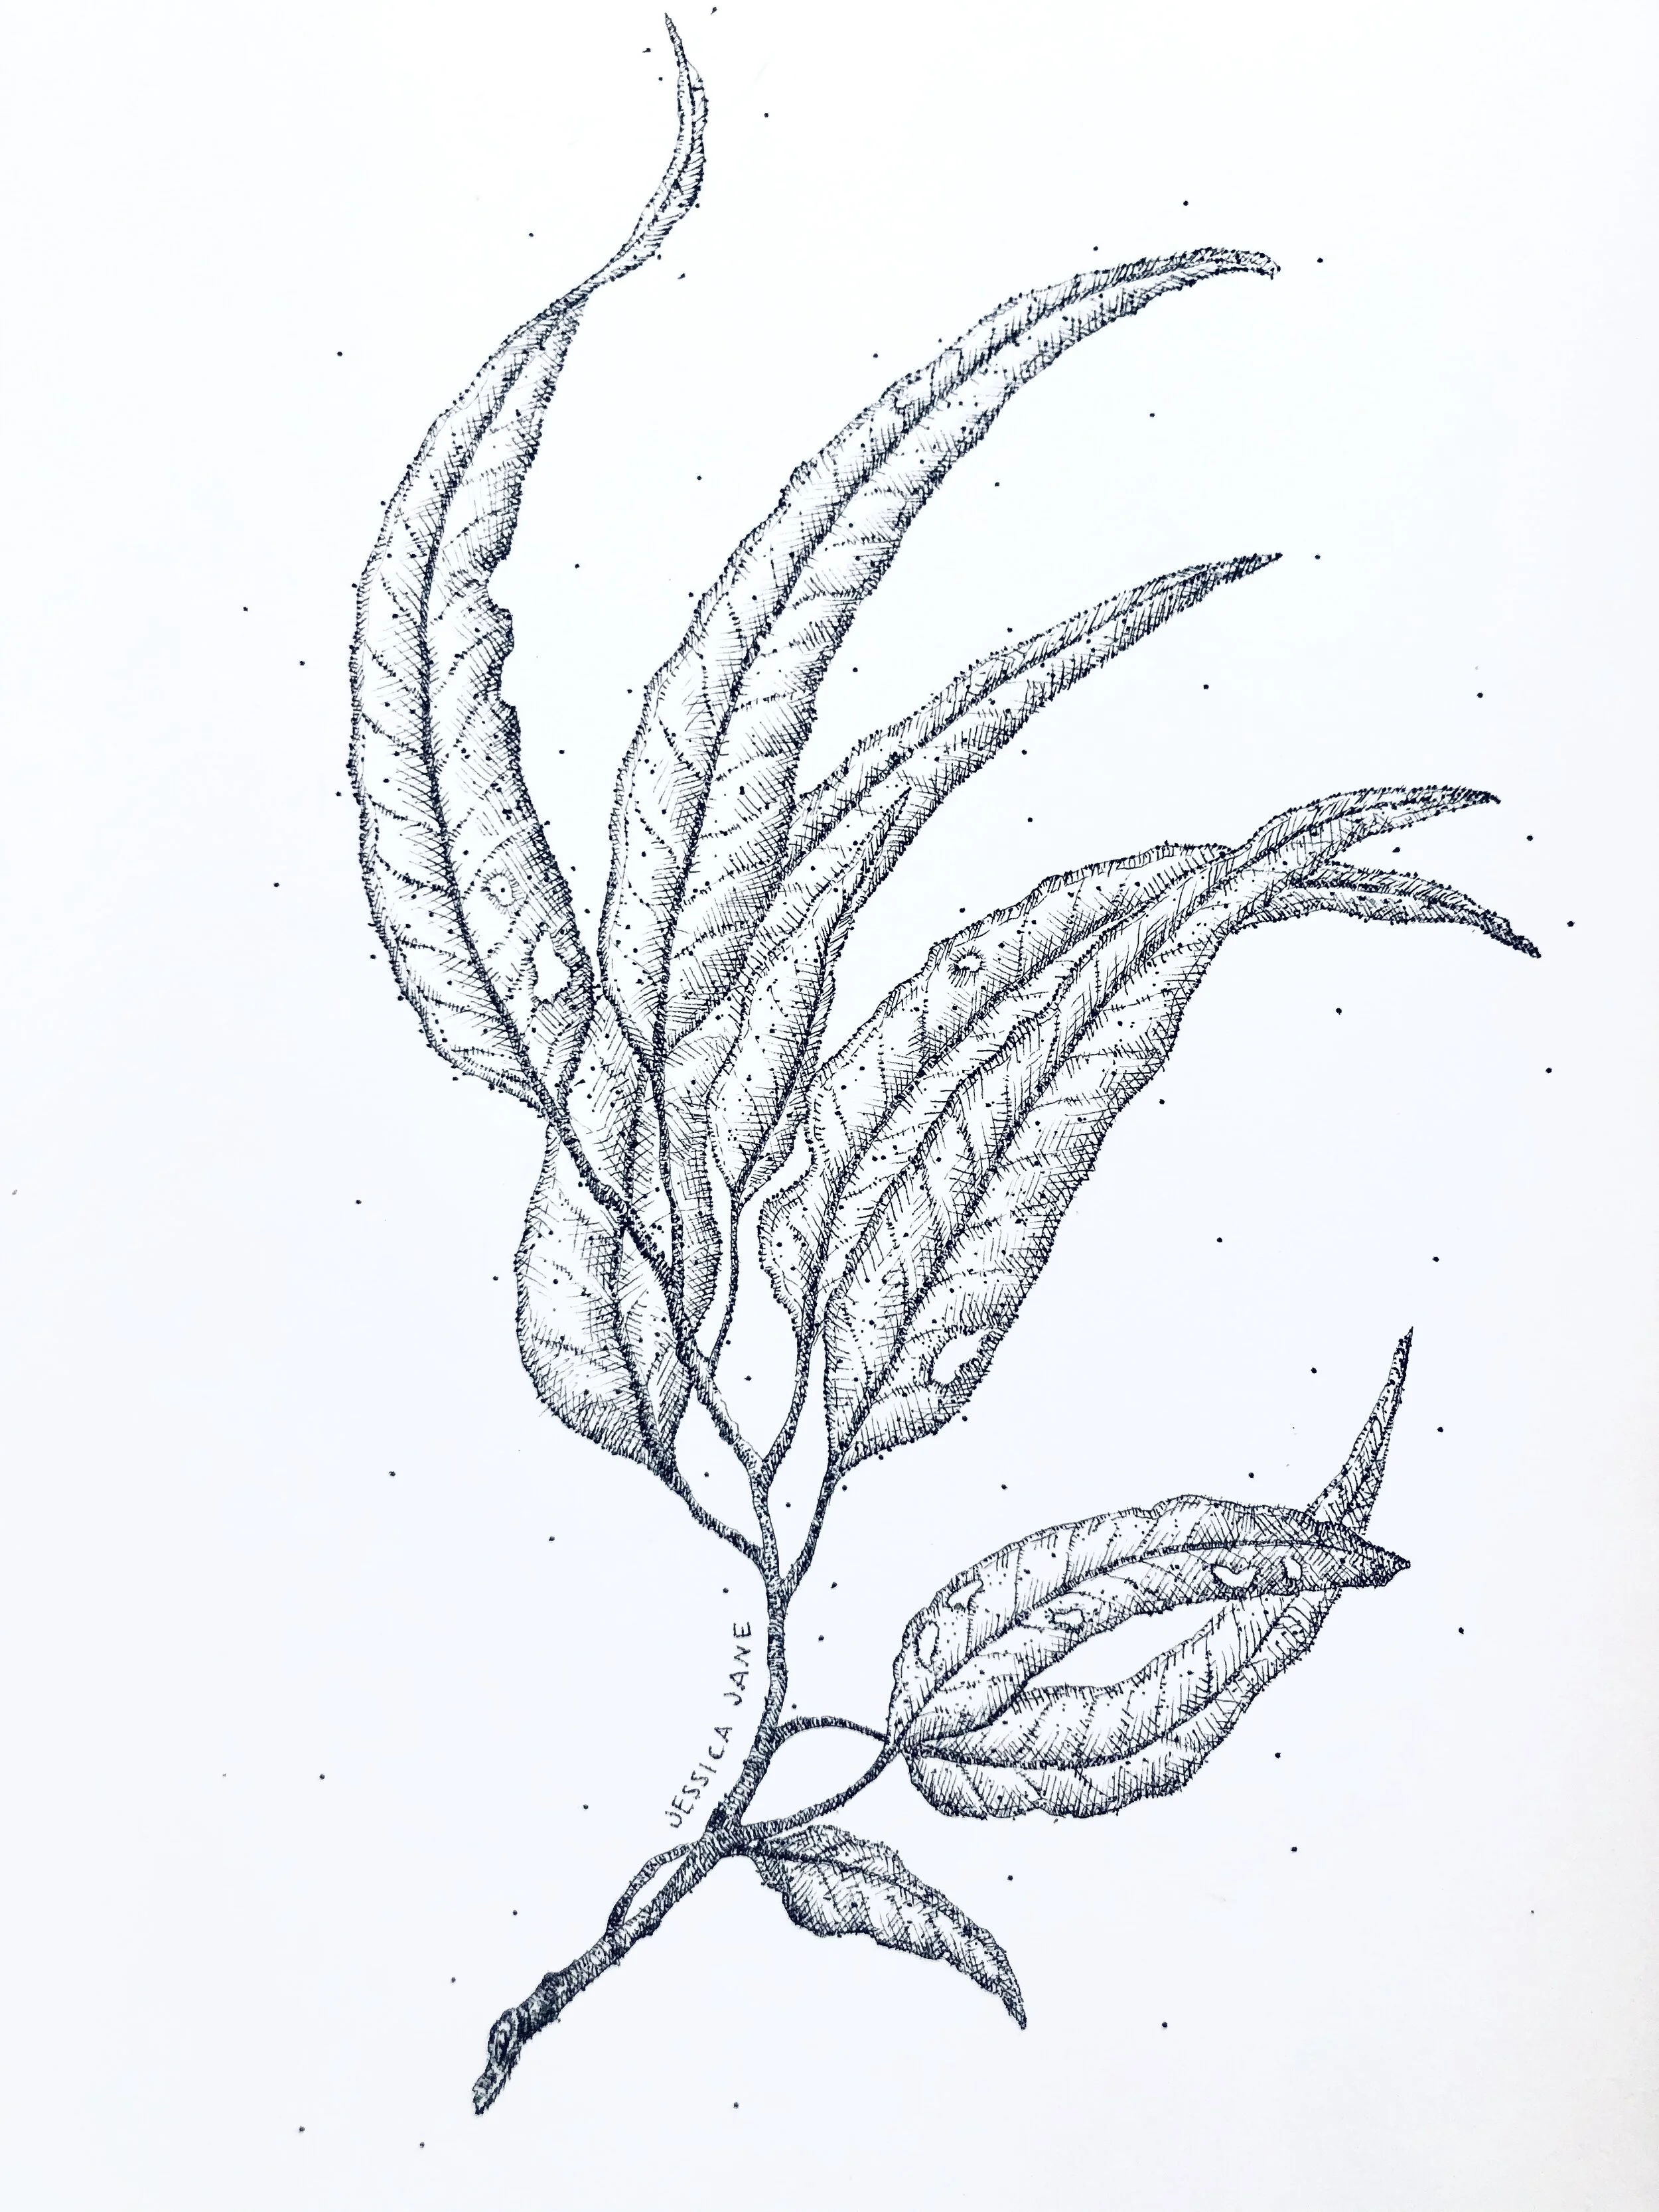
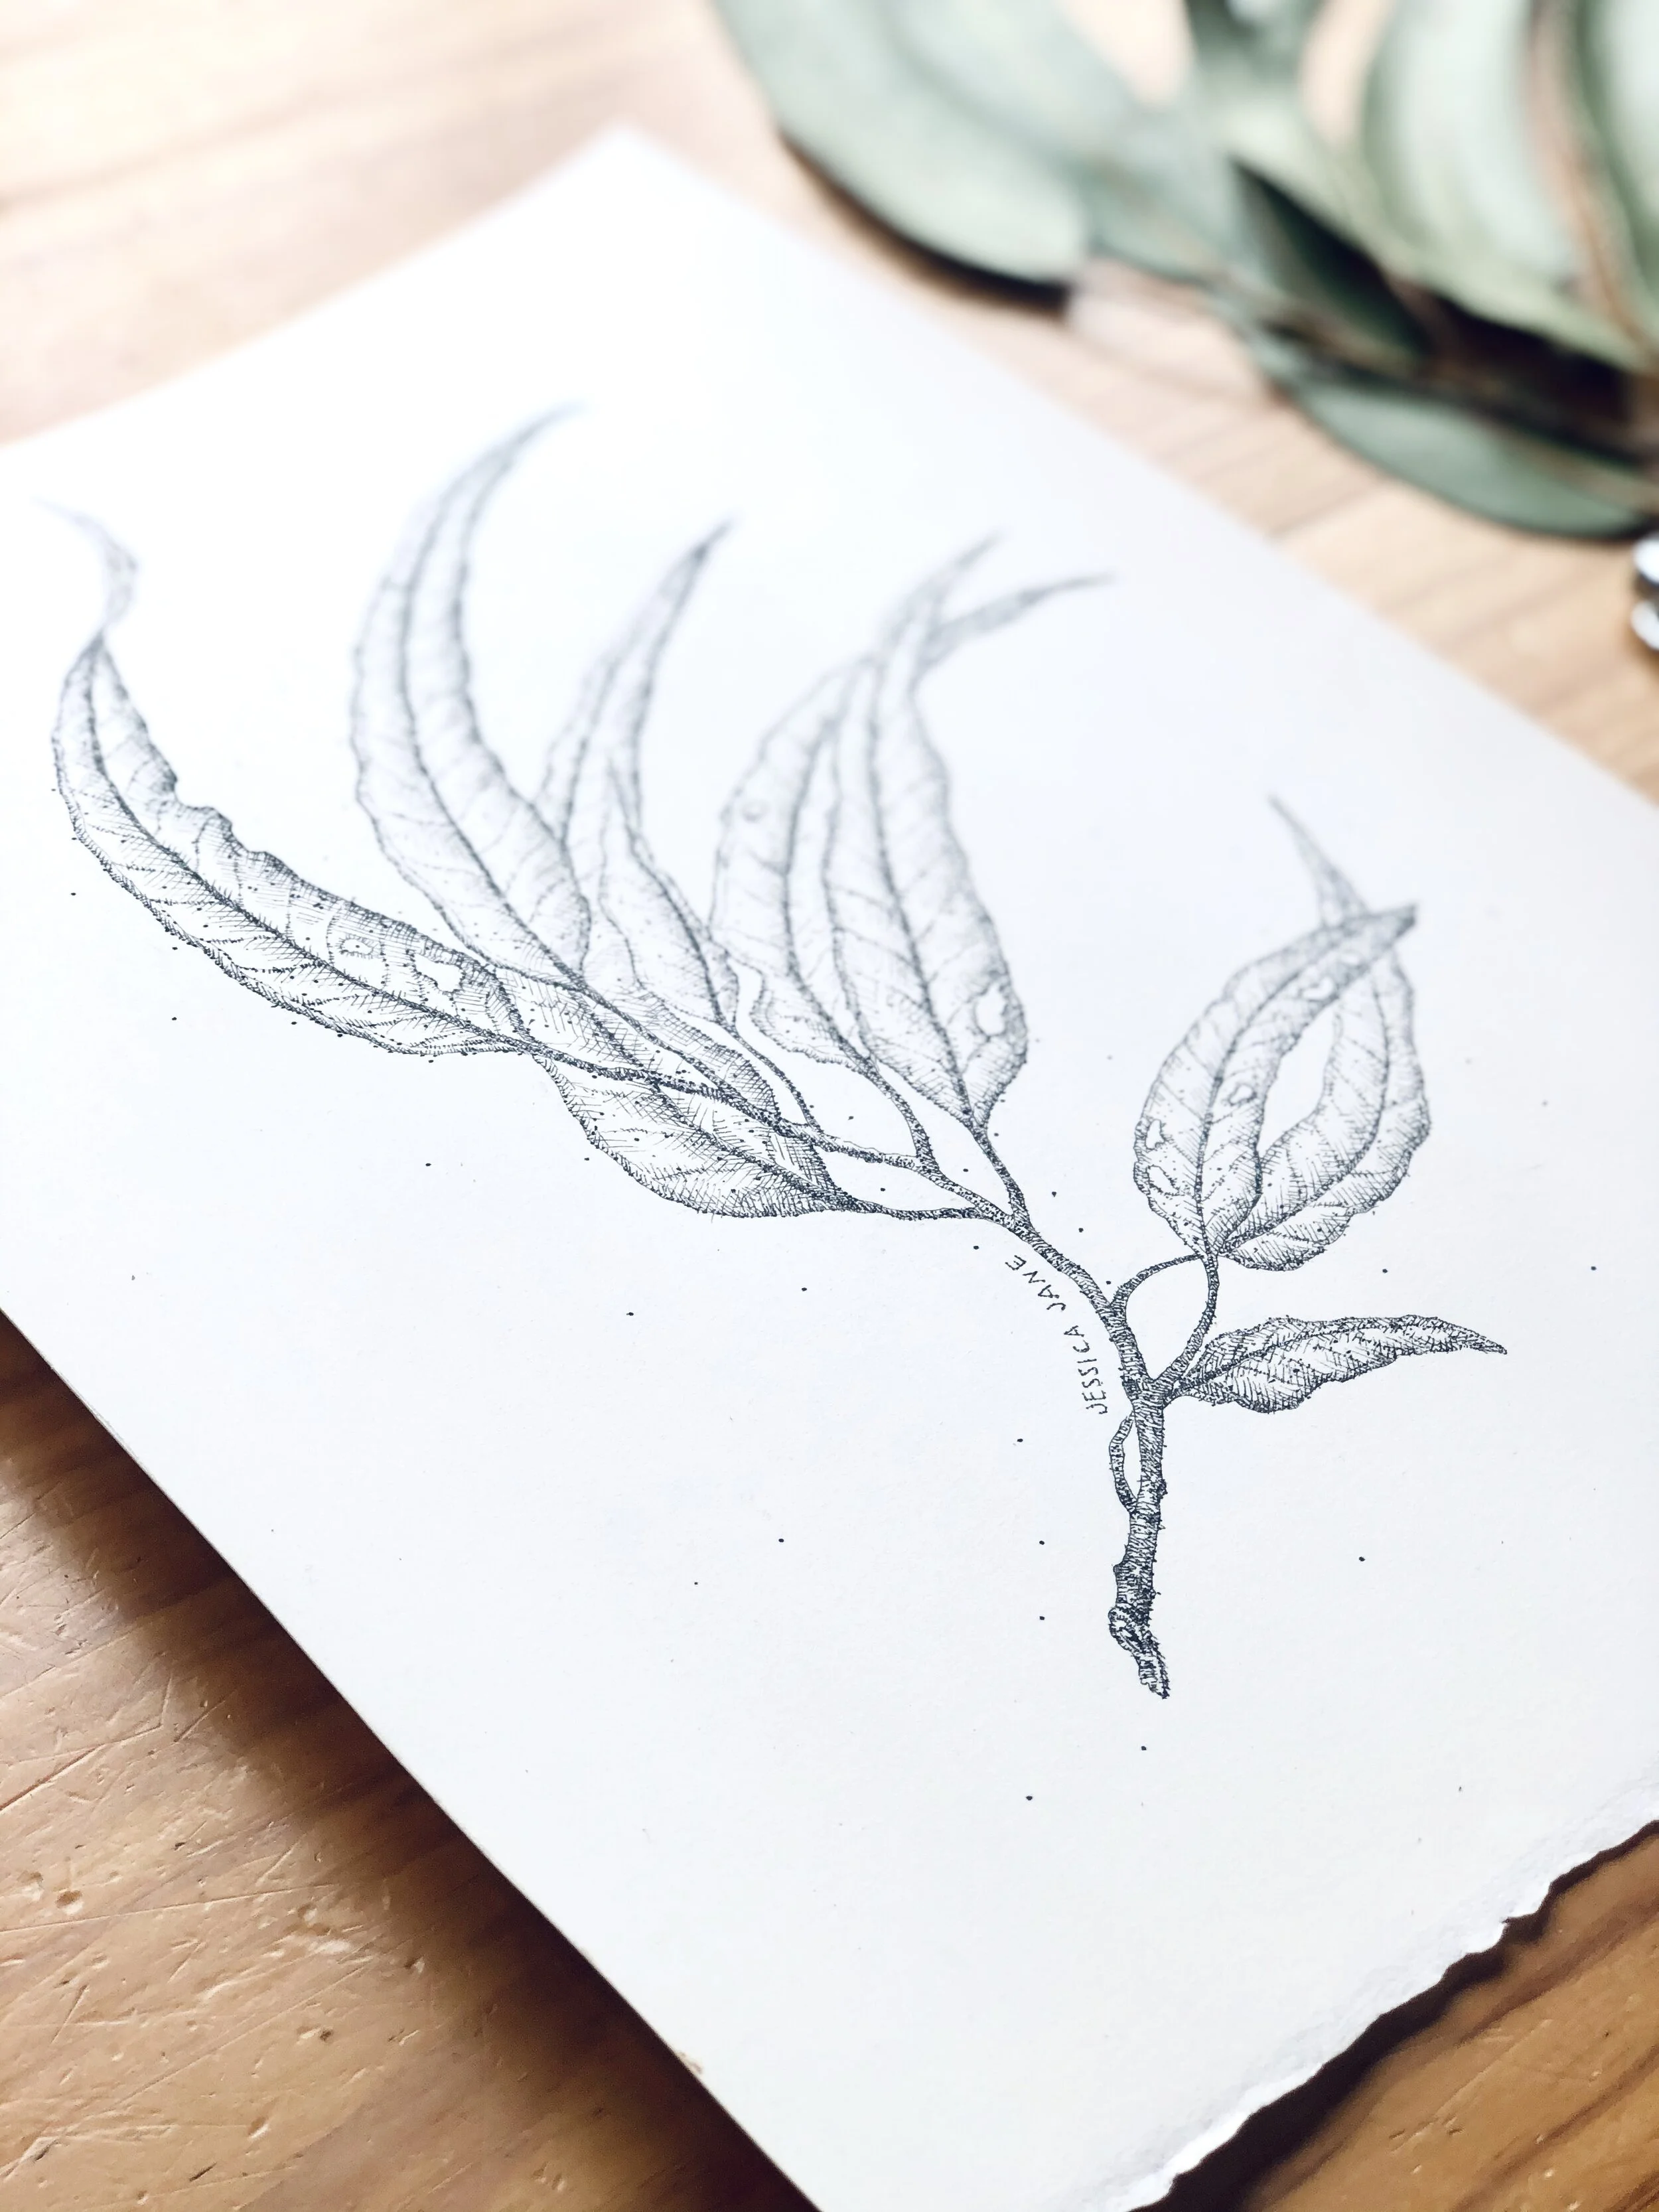
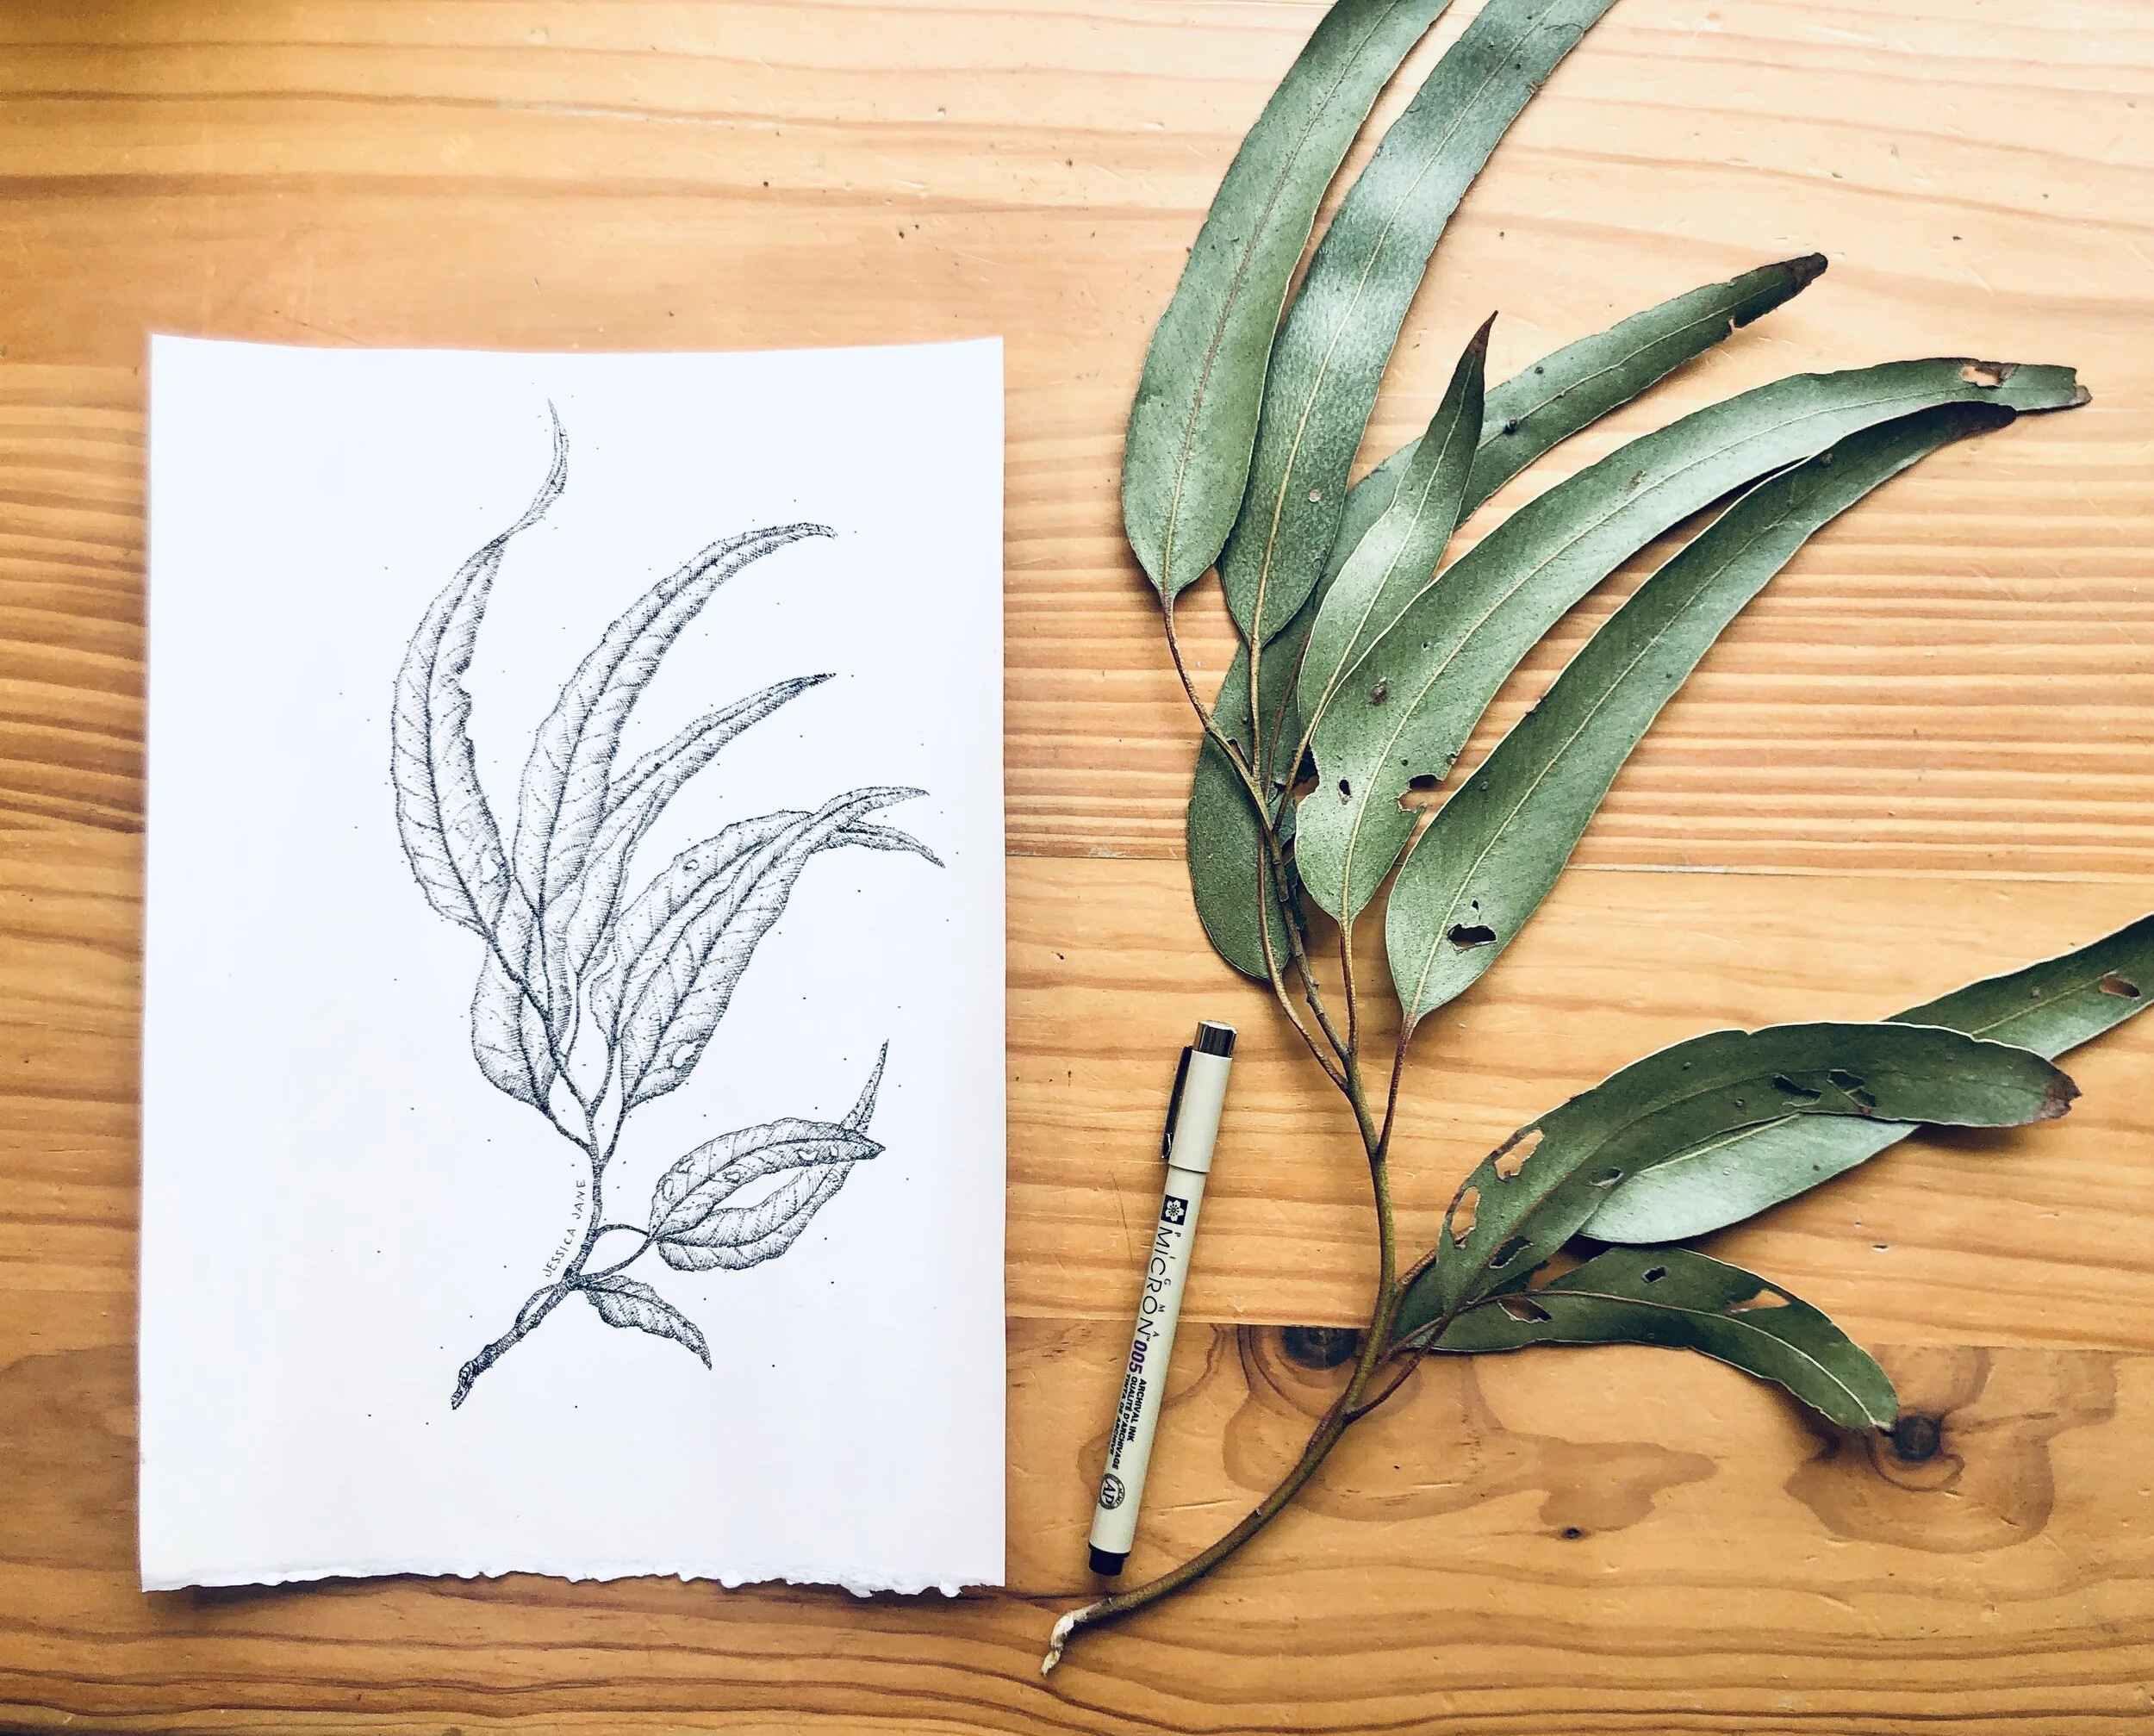
Next I start rendering the branch/stem using cross hatching and stippling. I use cross hatching to render tones/shadows and stippling to give texture and effect. Cross-hatch: To shade an area with intersecting sets of parallel lines. Stippling: To mark a surface with numerous small dots or specks. I start with an 005 fine-liner and layer over with an 01 & 03 fine-liner for darker areas and edges.
Once the branch/stem is done I move onto rendering the leafs. I will start by defining noticeable areas such as holes and darkened imperfections in the tops of the leaf. I then add stippling to overall areas of leafs for a texture effect. Next I am outlining the line patterns in the leafs. On this eucalyptus leaf there are indented lines running 1 - 2 mms around the edge of the leaf and indented parallel lines running from the middle stem of the leave to the edge of the leaf. I have outlined these in an 005 size fine-liner. Watch this in the video up too 1 min 43 seconds. Next I use cross hatching to mark the shadows that the indented lines make. Observe the lighting around you and how it effects the shadows on your plant.
These steps are repeated in layering till image is fully rendered. Once rendering is completed in 005 size I will move up to rendering in 01 size and then 03. Once image is done I like to finish with some specks of stippling. This just a personal effect I like to add to my drawings to give a whimsical effect. Don’t forget to sign your artwork! Think about placement. Layout your name in a spot that compliments your drawing layout.