
botanical illustration workshop
STEP 1 : observational drawing
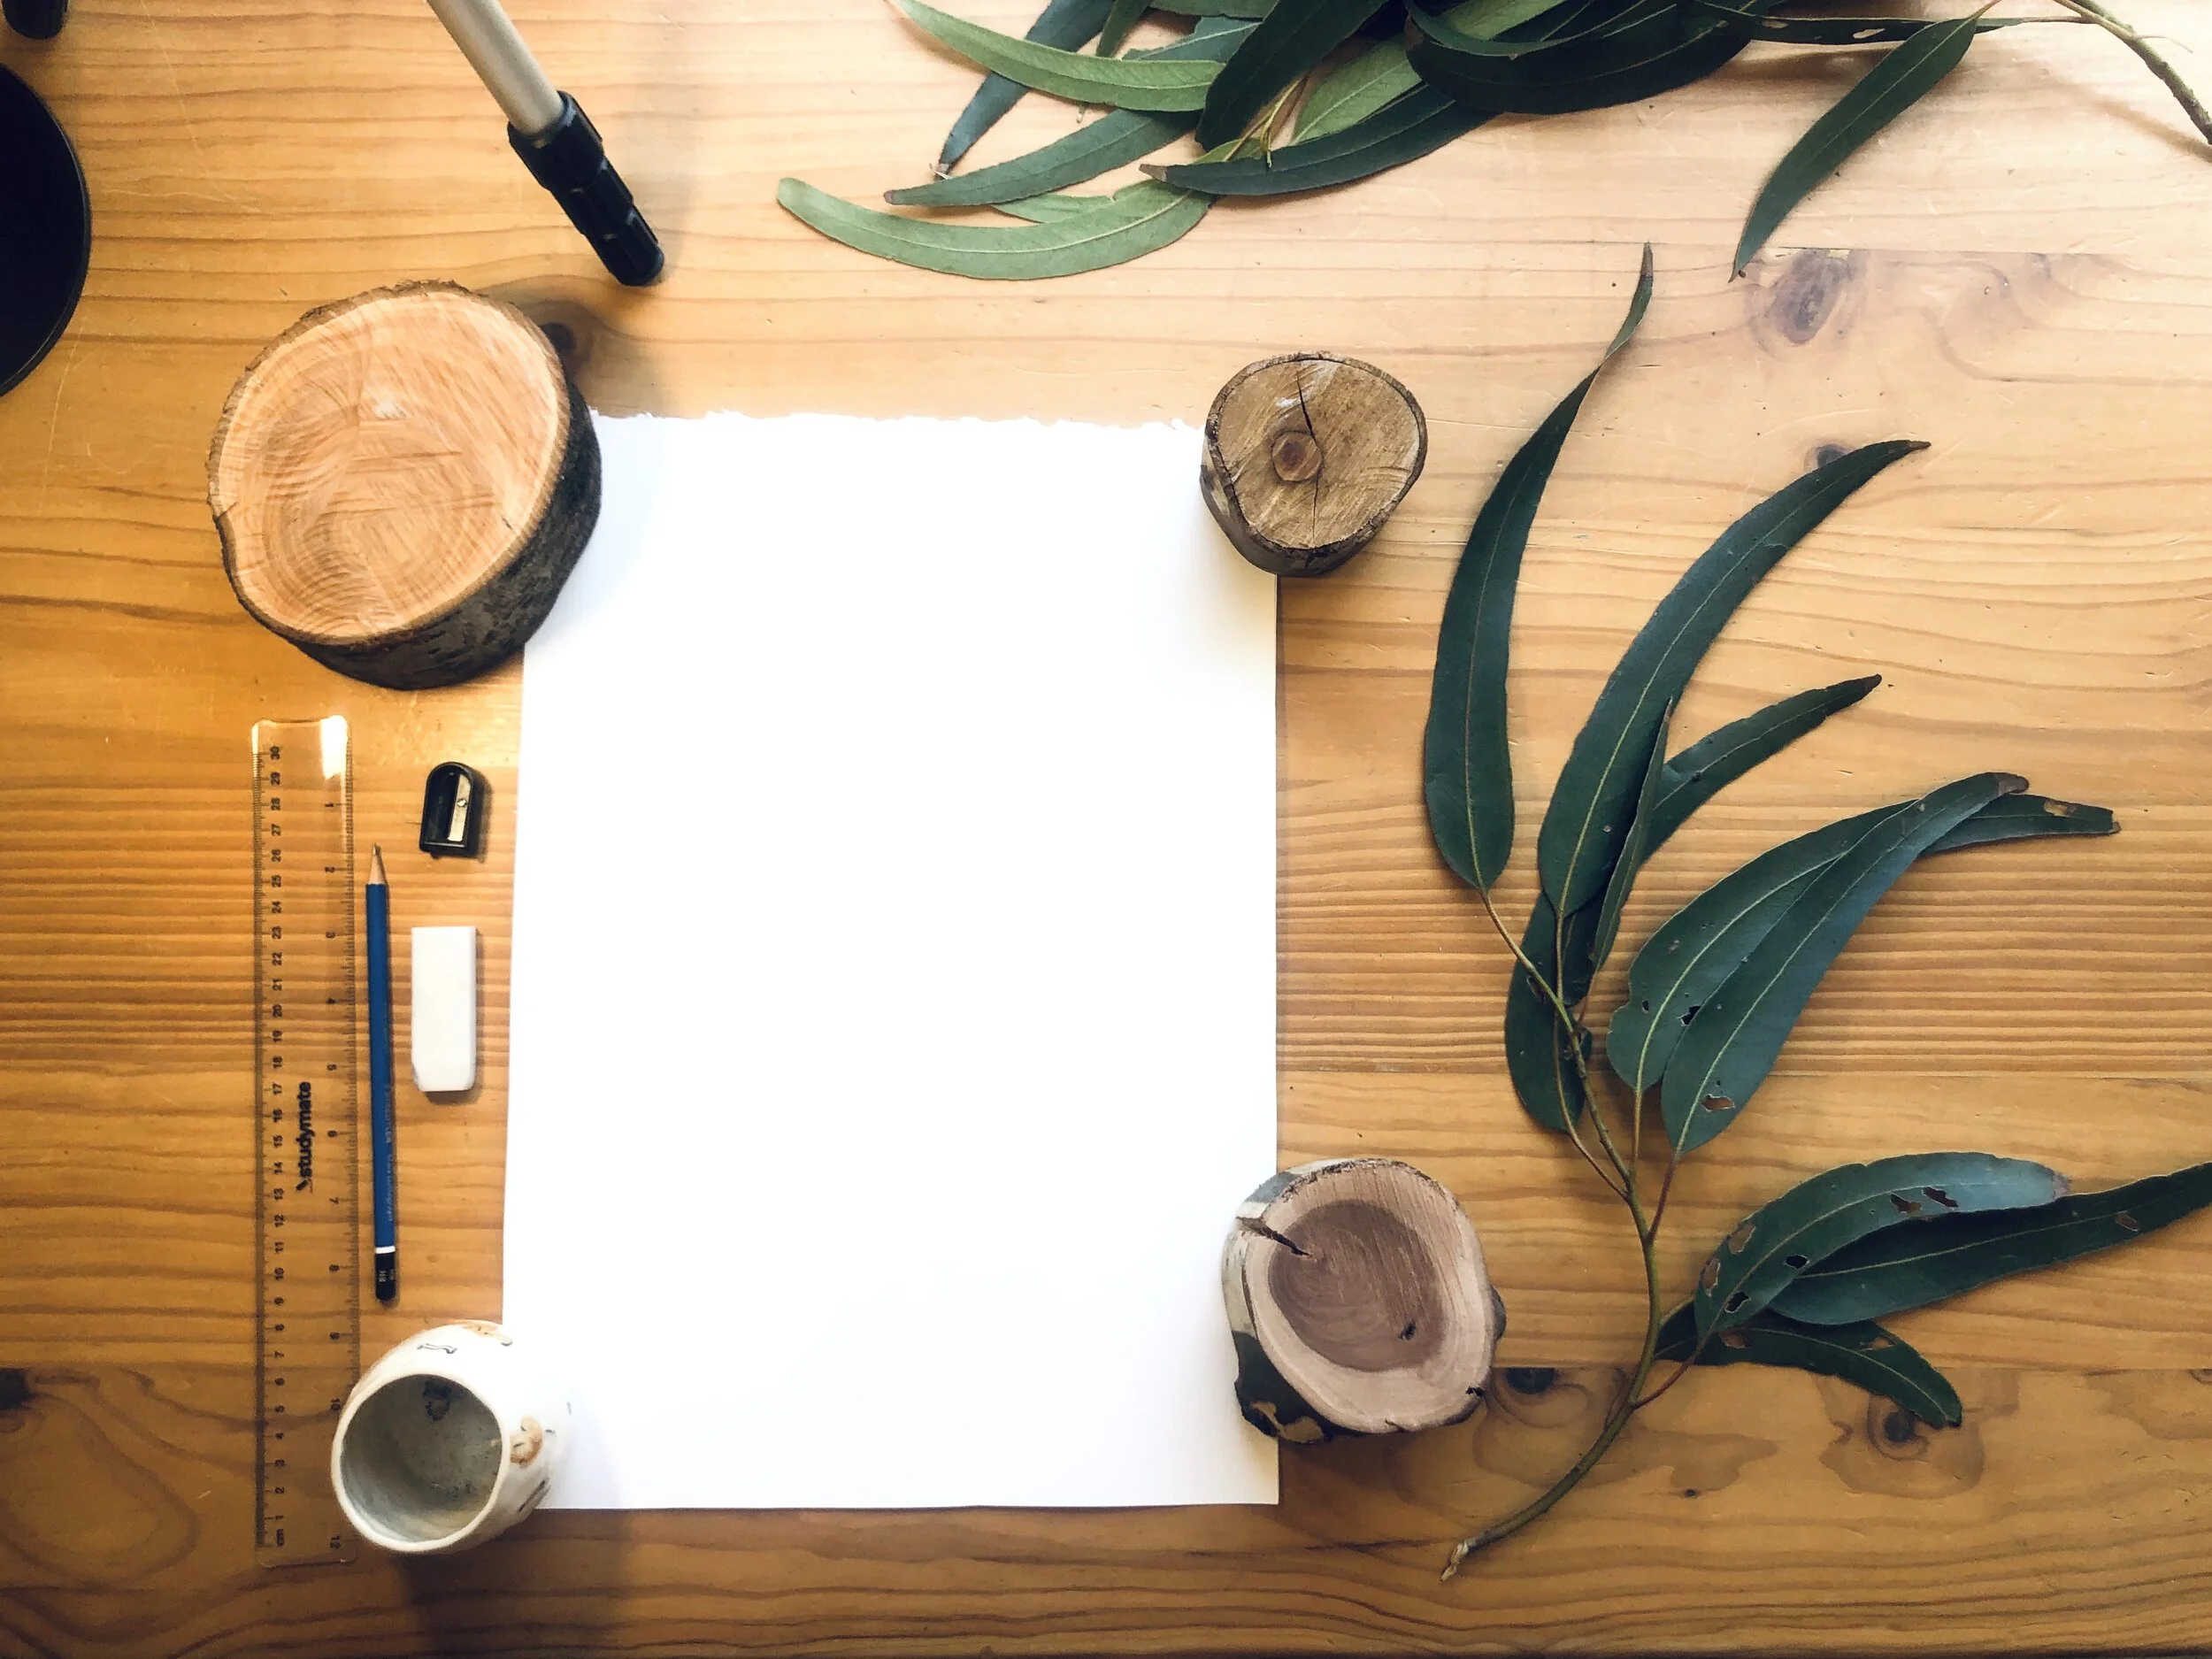
Pick out some florals to draw from for the workshop. Check for florals in your backyard or native branches in the park. For this workshop recording I observed a small branch of eucalyptus leafs. Florals, leafs, pinecones and gum nuts are a great mixture to choose from. Select one or an arrangement of sorts.
For the botanical illustration workshop I have chosen to draw a branch of eucalyptus leafs. I love to focus on Australian flora and love how no one leaf is the same.
To begin I will start with a pencil, rubber, sharper and ruler. I am using an A4 piece of smooth Archers paper in 300gsm. You’ll notice that I have chosen a plant object that is bigger then my drawing area. You can choose to either study a smaller plant and aim to draw it to it’s true size or pick a slightly larger object and take extra care in observing how you can translate it’s size on a smaller piece of paper.
The first step is too arrange your plant in an appealing position for illustrating. For example I moved the placement of the leafs so the spread out nicely over the branch and were not cluttered together. Ask yourself, will this placement make a nice drawing to look at?
Step 2: I am now studying the paper and thinking about space I need to leave around the drawing for an appealing image. I like to leave a decent amount of negative space around the image, like a boarder. This helps when framing. Generally when you frame your artwork the edge of the paper will me covered by the frame of matte board. So it is nice to leave some space for this. To do this I draw a very light boarder around the the paper either in a circle of rectangle. the drawing will be fitted inside this space and the boarder will act as a temporary guide. When we start drawing on paper a good habit to pick up is drawing with a piece of scrap paper under your drawing hand. This stops oils from your skin marking the paper.
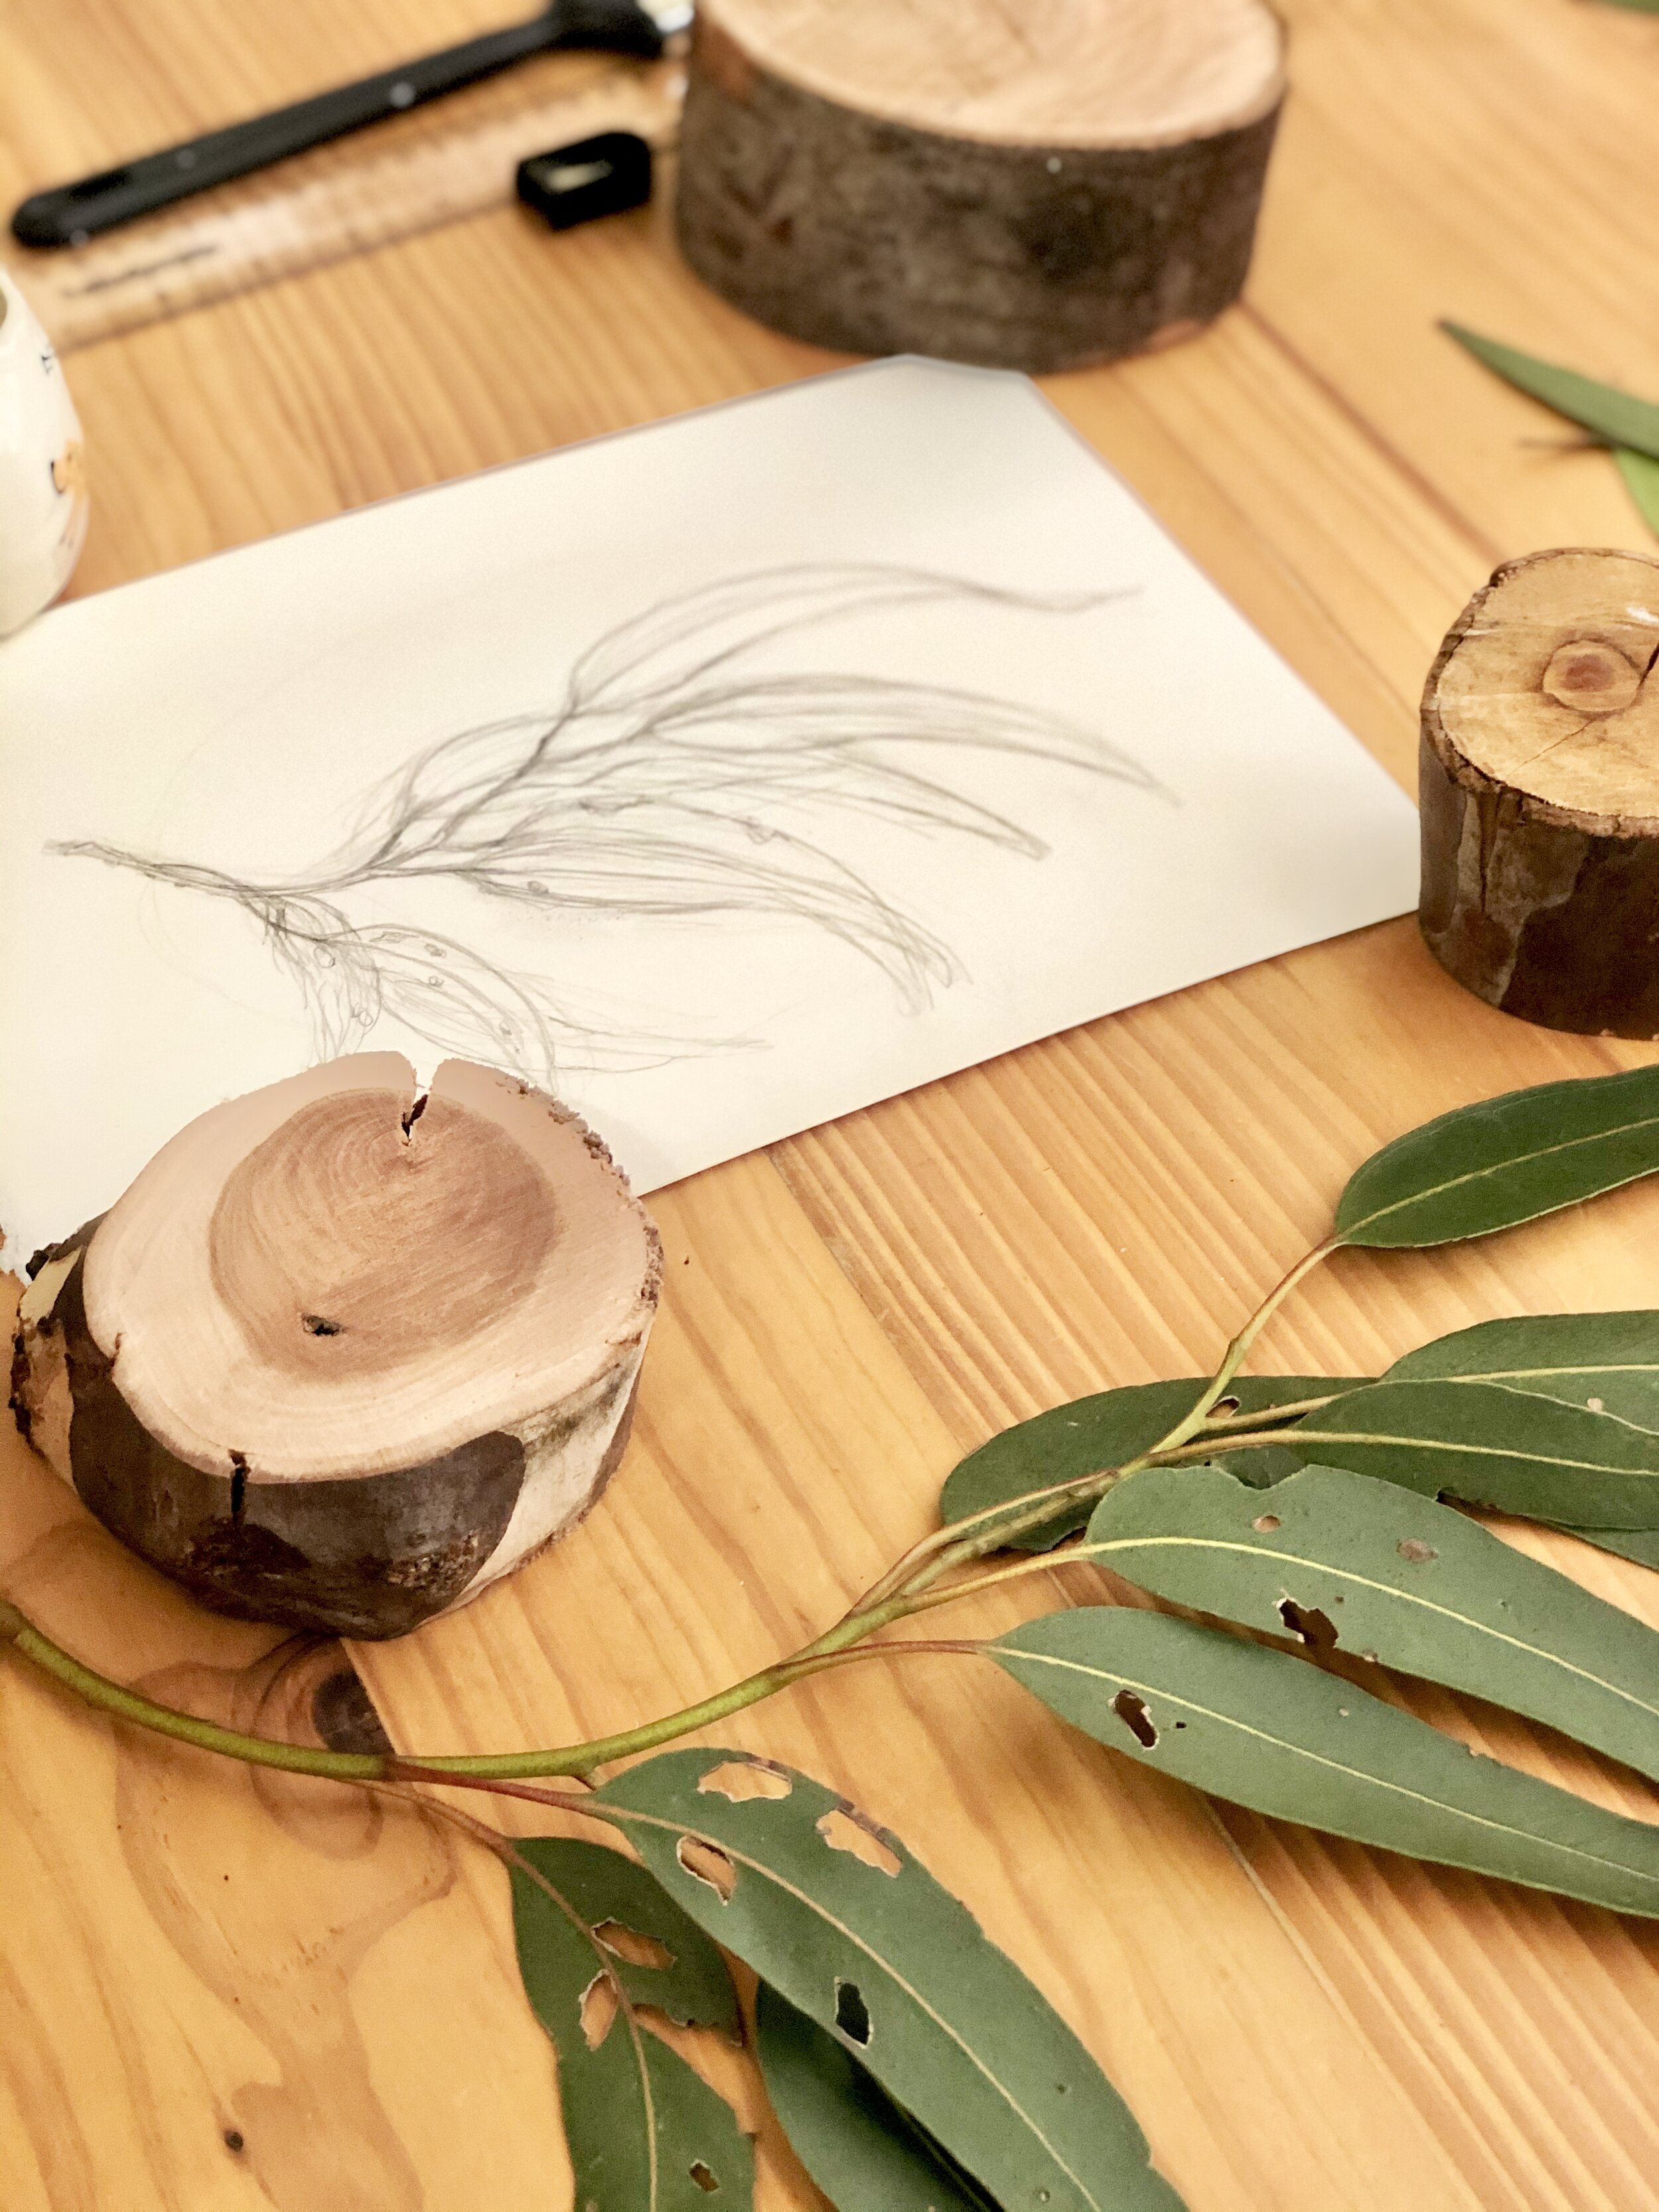
Step 3: I begin with a quick light sketch of the plant. this is to organise placement on the paper and rough out the general sizing. I will look at the length of the branch compared to the leafs and check that my sketch reflects this. In this case if you cant get this accuracy based off observation try hovering your ruler over the plant and measure out key areas. Note the size and difference and then translate this onto the paper. This is also the stage where you will centre the plant drawing onto the paper. Find the centre point of the plant and make sure you keep this point drawn on the centre of your paper piece.
Step 4: Once you have a rough observational sketch you will draw over this in harder more accurate lines. You will observe and draw every branch, leaf and stem. You will also mark details of the leafs and branch including leaf lines, holes and imperfections such as darkened marks. On the branch take note of little bumps and corners that poke out. Look at the way parts of the leaf curls over and overlapping areas.